
Learn how to make pie crust with this easy pie dough recipe! It yields a flaky, buttery crust that’s perfect for using in your favorite homemade pies.

If the prospect of making homemade pie dough intimidates you, you have to try this easy pie crust recipe. As a lover of basically every kind of pie, I’ve experimented with a variety of techniques for making pie dough over the years. I’ve had my fair share of successes, near successes, and all-out failures. But since I’ve started making this pie crust recipe, it’s worked like a charm every time. Made in a food processor using a technique that J. Kenji López-Alt pioneered for Cook’s Illustrated in 2007, it’s far more pliable than a traditional pie dough, which makes it much easier to roll out. It’s also made with 100% butter, which gives it an AMAZING flavor and wonderful flaky texture. What more could you want in a homemade pie crust?

Pie Crust Recipe Ingredients
Here’s what you’ll need to make this easy pie crust recipe:
- All-purpose flour – I use 2 2/3 cups to make two crusts, enough for one 9- or 9.5-inch double crust pie or two single crust pies. Spoon and level your flour to avoid packing too much into your measuring cup!
- Cold butter – Pie crust recipes often call for a mix of butter and shortening (or even lard), but I prefer to make an all-butter pie crust. The flavor is far richer, and the crust has a lovely flaky texture.
- Ice water – It helps the dough come together, and it aids essential gluten development in some of the flour.
- Apple cider vinegar – It makes the dough a little more flavorful, and if you happen to overwork the dough, the vinegar will prevent it from getting too tough.
- And sea salt – To bring out the crust’s rich, buttery flavor.
Find the complete recipe with measurements below.
How to Make Pie Crust
In a traditional pie dough recipe, you’d cut the fat into the flour by hand or with a pastry cutter and then gradually add water until the dough comes together. Though you can make great pie crusts with this method, it’s less foolproof than the one we use here. It’s easy to add too much or too little water or to overwork the dough so that it becomes tough.
In this method, which J. Kenji López-Alt developed at Cook’s Illustrated, you’ll use a food processor to thoroughly combine the butter with some of the flour. Then, you’ll pulse in the rest of the flour until the dough becomes crumbly. At that point, you’ll transfer the dough to a bowl and add the liquid. The big benefits of this method are that, because the butter is thoroughly mixed with part of the flour, the dough is pliable and easy to roll out. It also stays tender, as the gluten develops in only the second addition of flour.
Here’s how it goes:
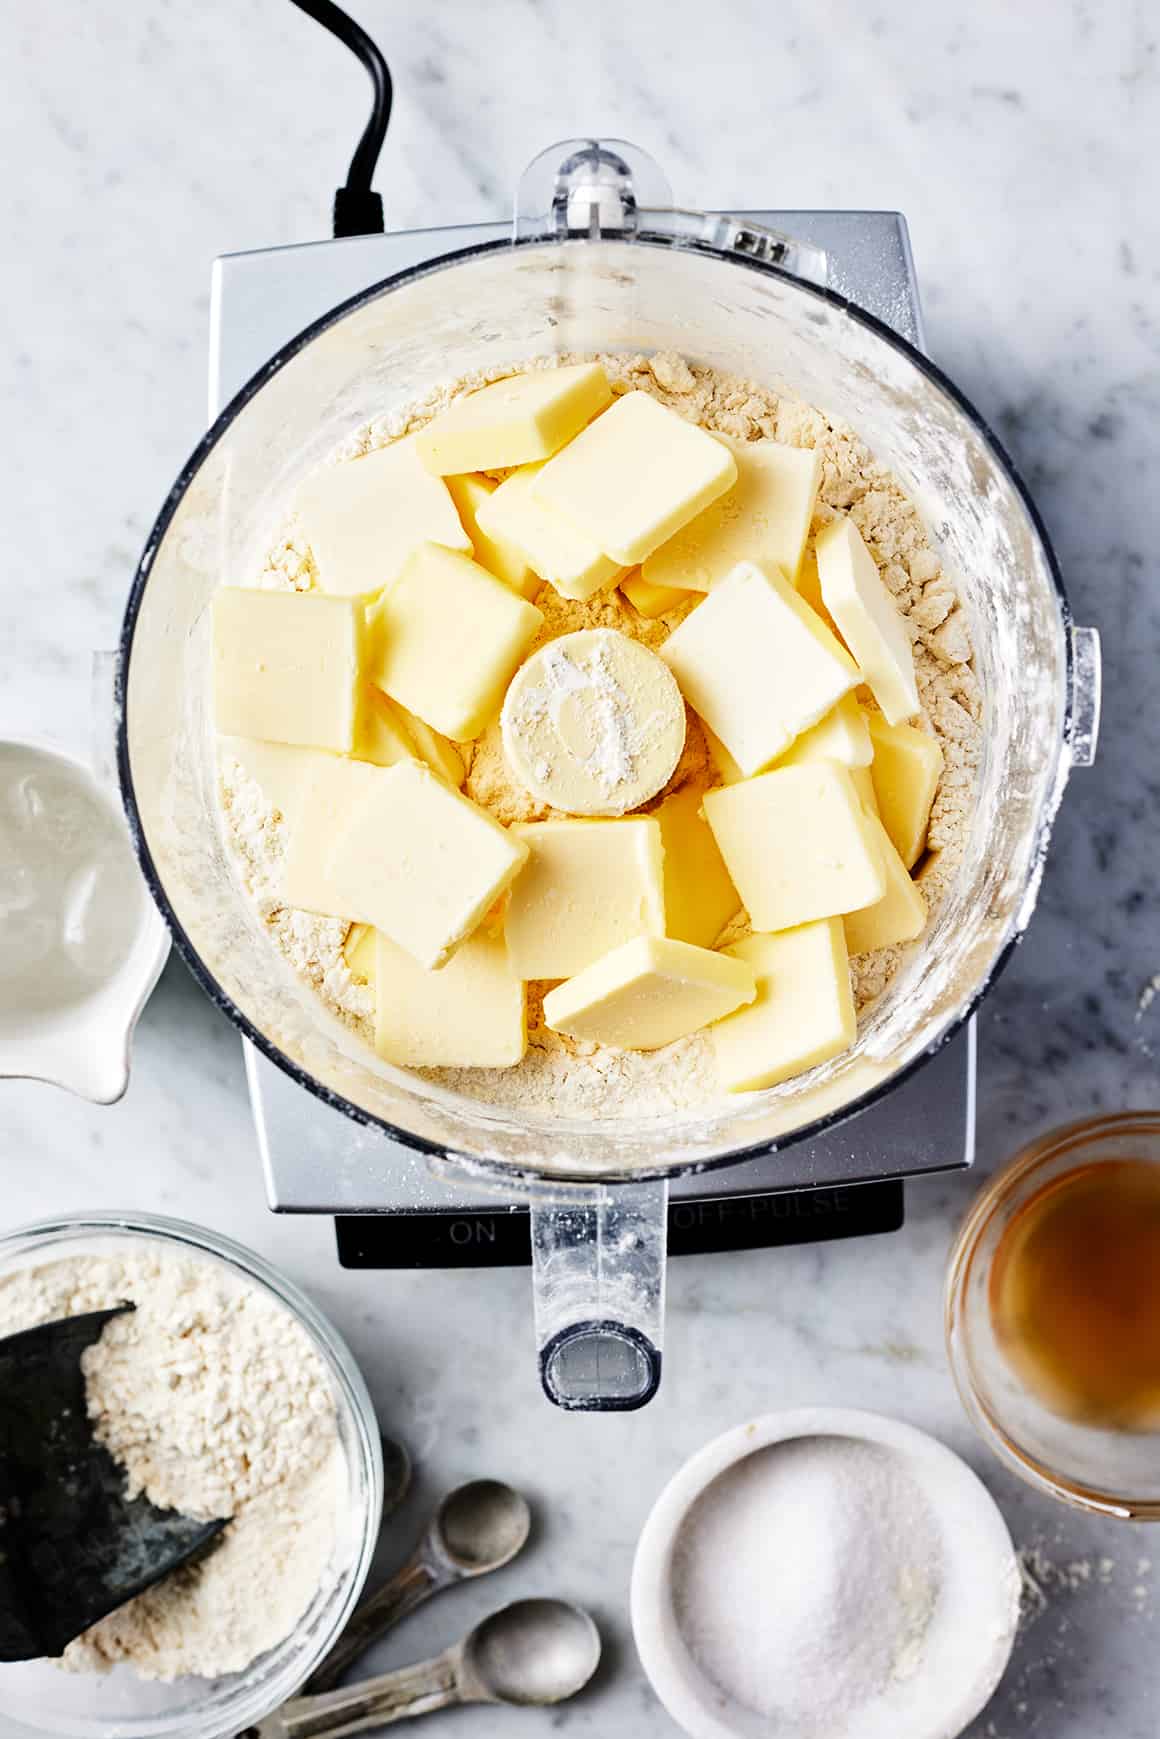
First, pulse the butter into part of the flour. Place 1 2/3 cups of the flour and the salt in a food processor and pulse to combine. Spread the butter on top.

Pulse until the butter is thoroughly incorporated with the flour and the dough starts to form clumps.
The mixture pictured above is almost at that point, but not quite. It needs a few more pulses in the food processor. Before you move on to the next step, there should be no dry flour remaining.
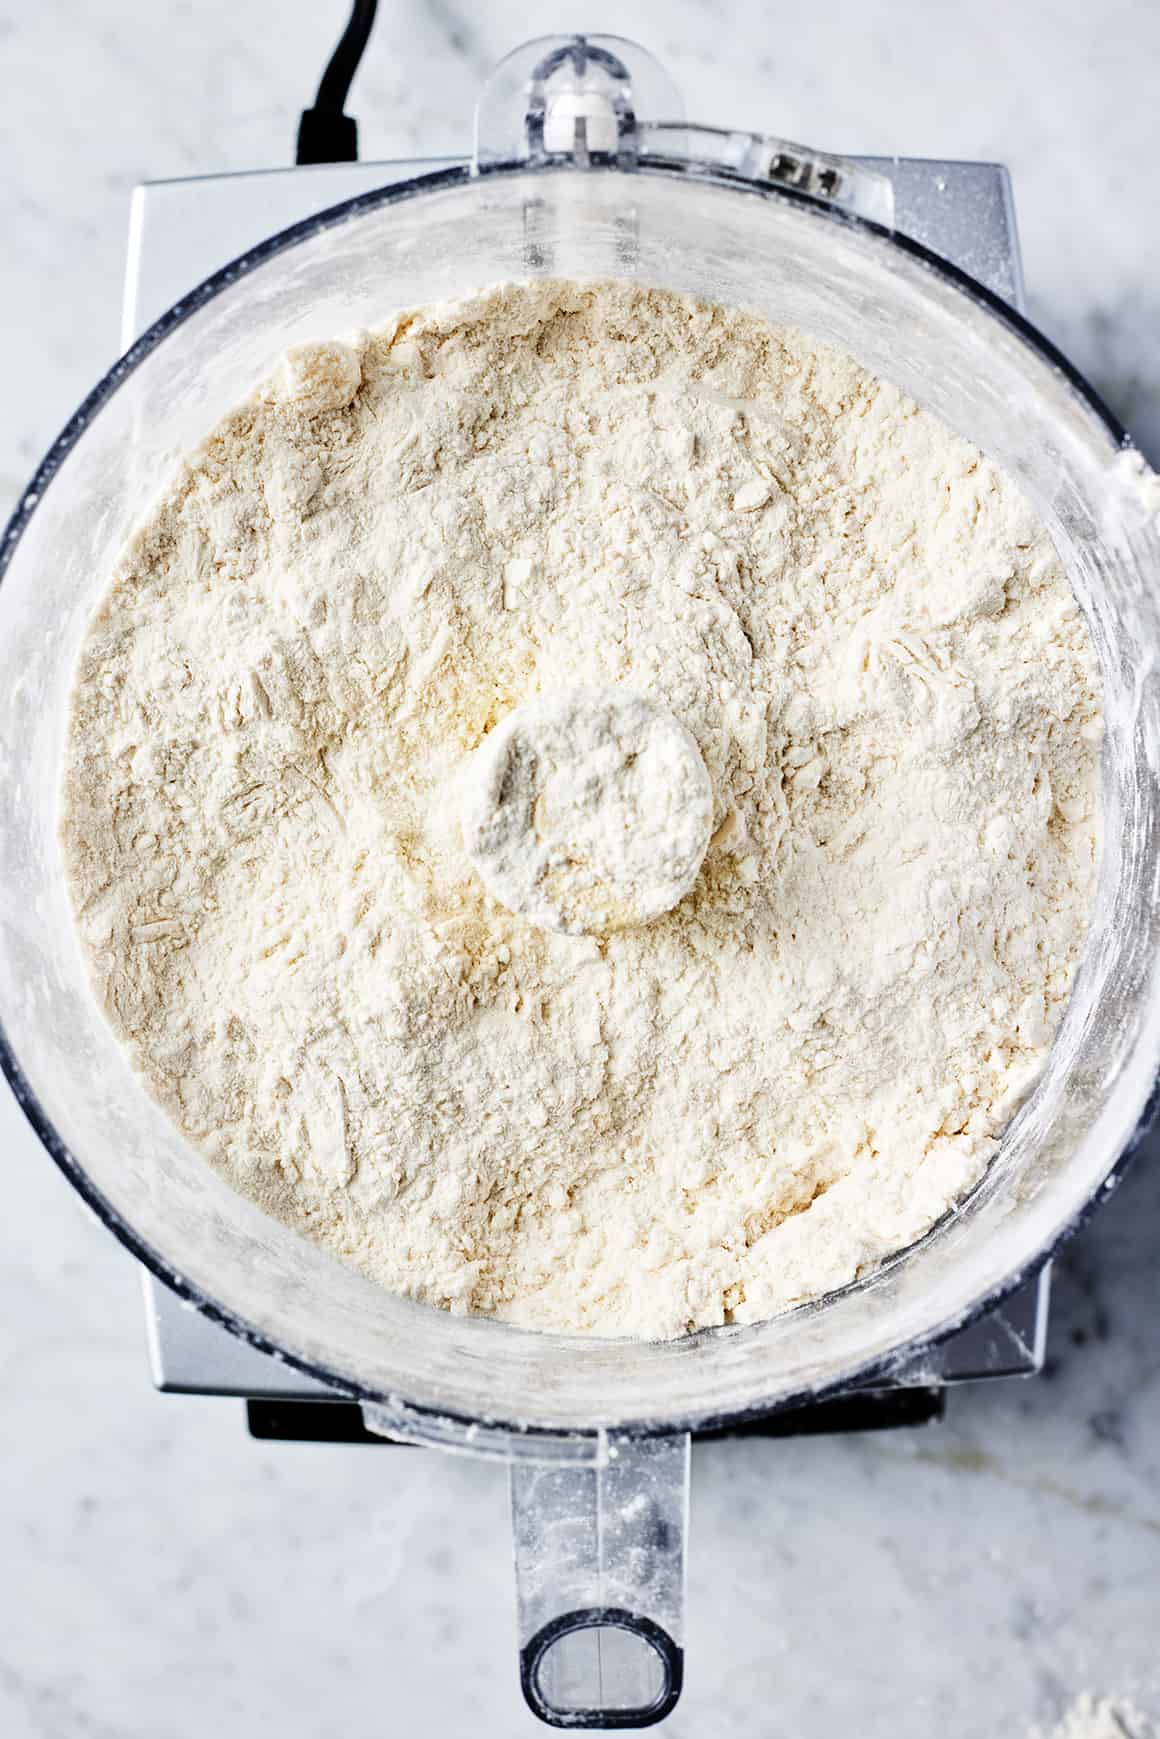
Then, add the remaining flour. Spread the flour/butter mixture evenly in the food processor and sprinkle the remaining flour on top.

Briefly pulse until the dough becomes crumbly.
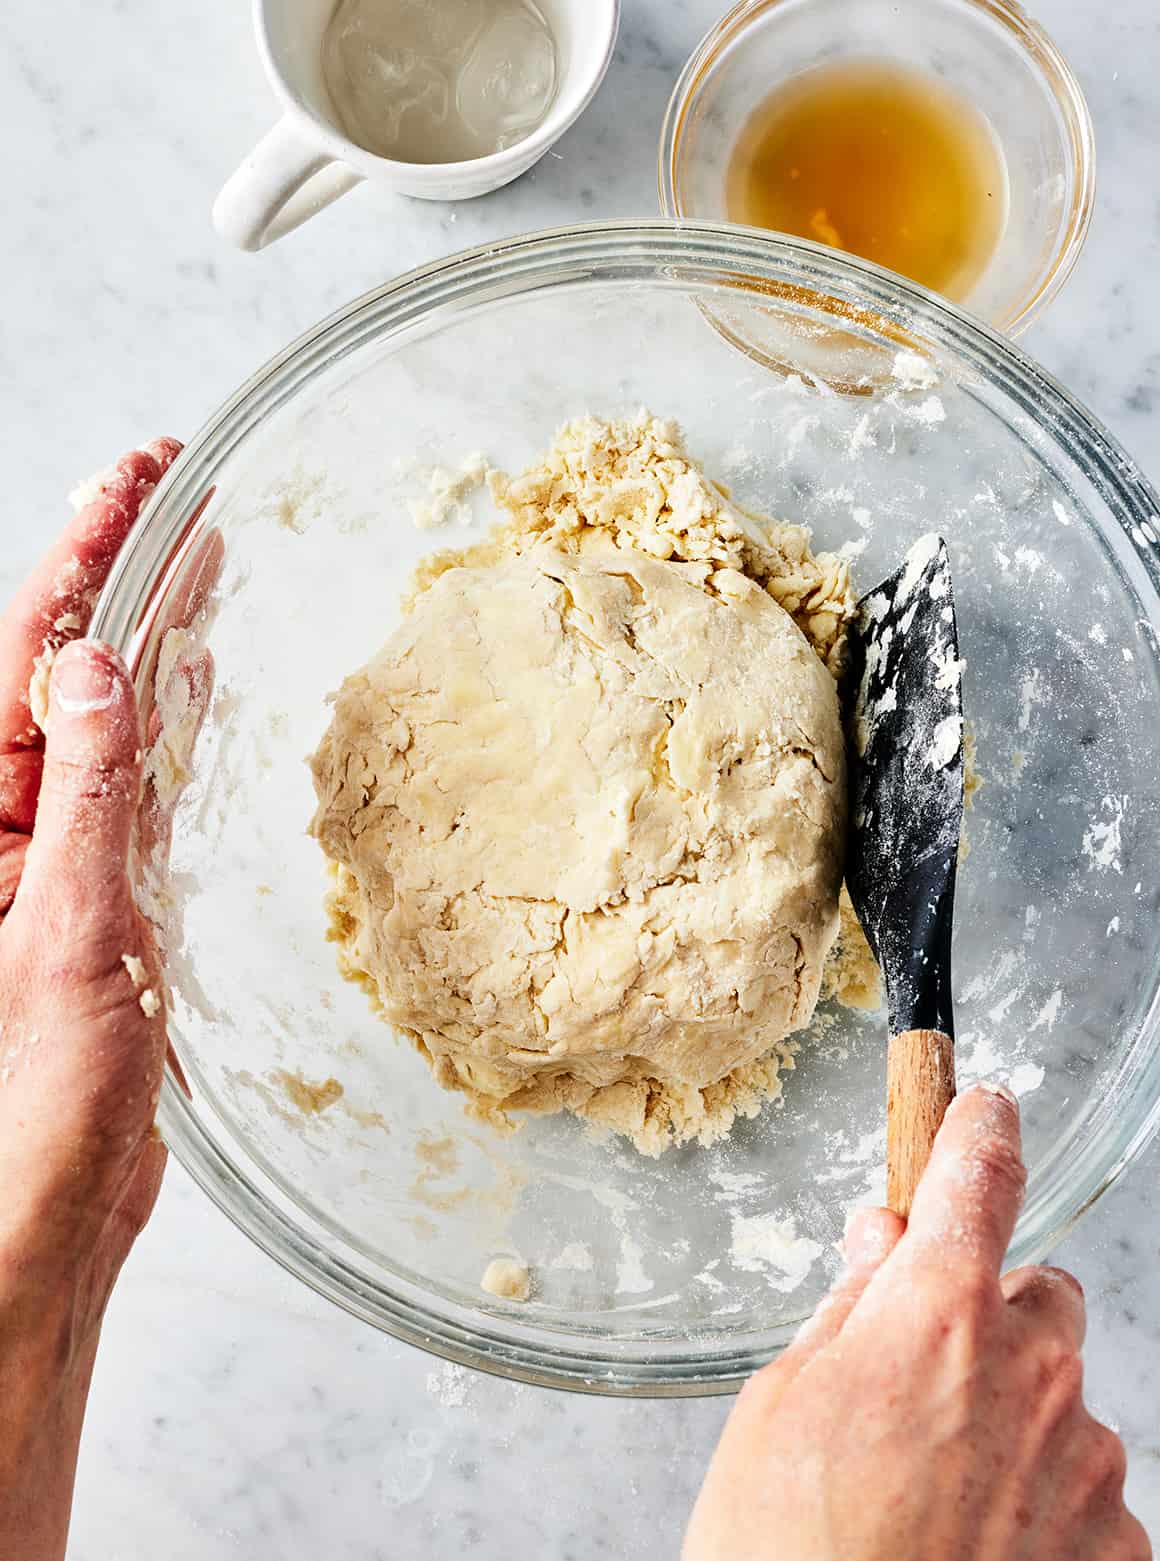
Next, add the liquid. Transfer the dough to a large bowl and sprinkle in the water and vinegar. Use a spatula to fold and press the dough until it comes together into a ball.
Finally, chill the dough. Divide it in half and flatten each half into a disk. Wrap tightly in plastic wrap and chill for at least 2 hours or up to 2 days.
Rolling Out The Dough
Once the dough has chilled, you can roll it out and assemble your pie!
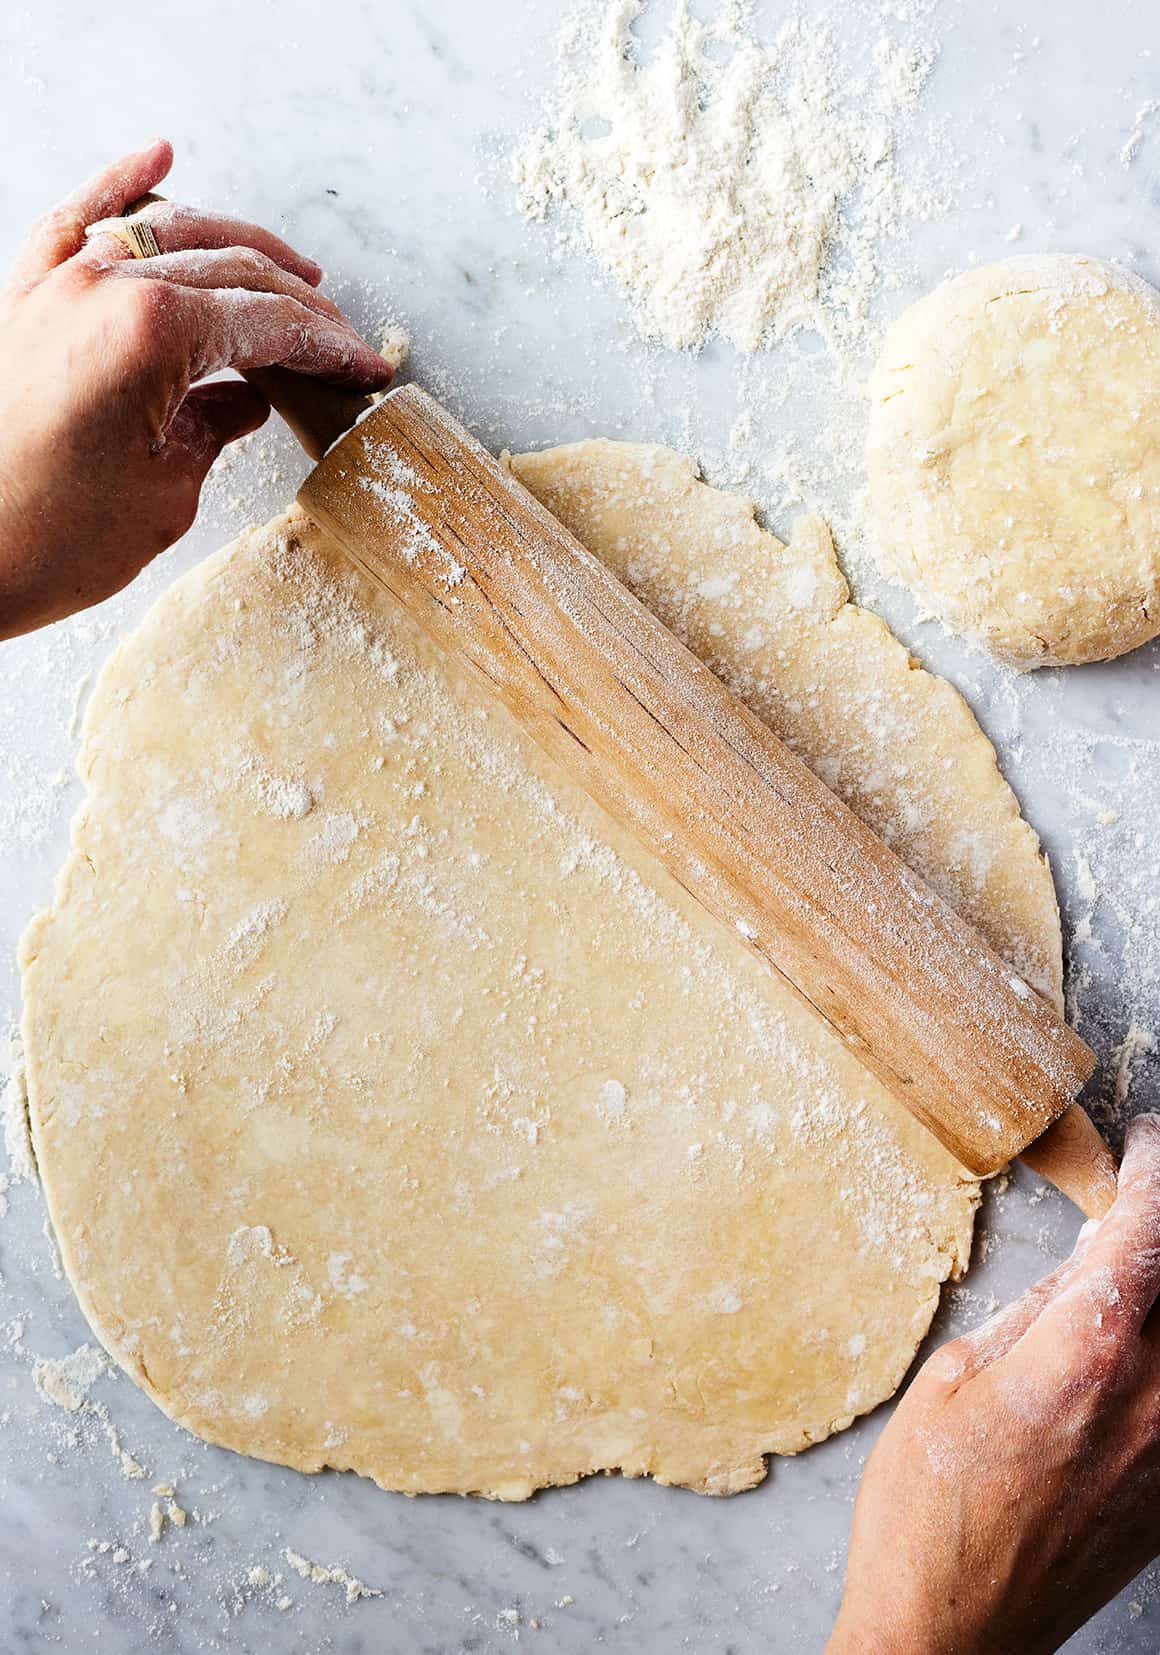
Place one of the disks of dough on a lightly floured surface. Dust the top with flour to prevent your rolling pin from sticking to the dough, and roll out the dough into a large circle about 1/8-inch thick.
As you work, rotate the dough a quarter turn every few rolls. Unless you’re rolling out the dough on parchment paper, rotating it as you roll is essential. It helps you create a more even circle, but, more importantly, it prevents the dough from sticking irretrievably to your work surface. I also like to dust the top of the dough with flour and flip it over a few times as I roll it out.
Roll out the dough until it’s about 1/8-inch thick. If you invert your pie plate over the dough, the dough should be 1 inch larger than pie plate on all sides.
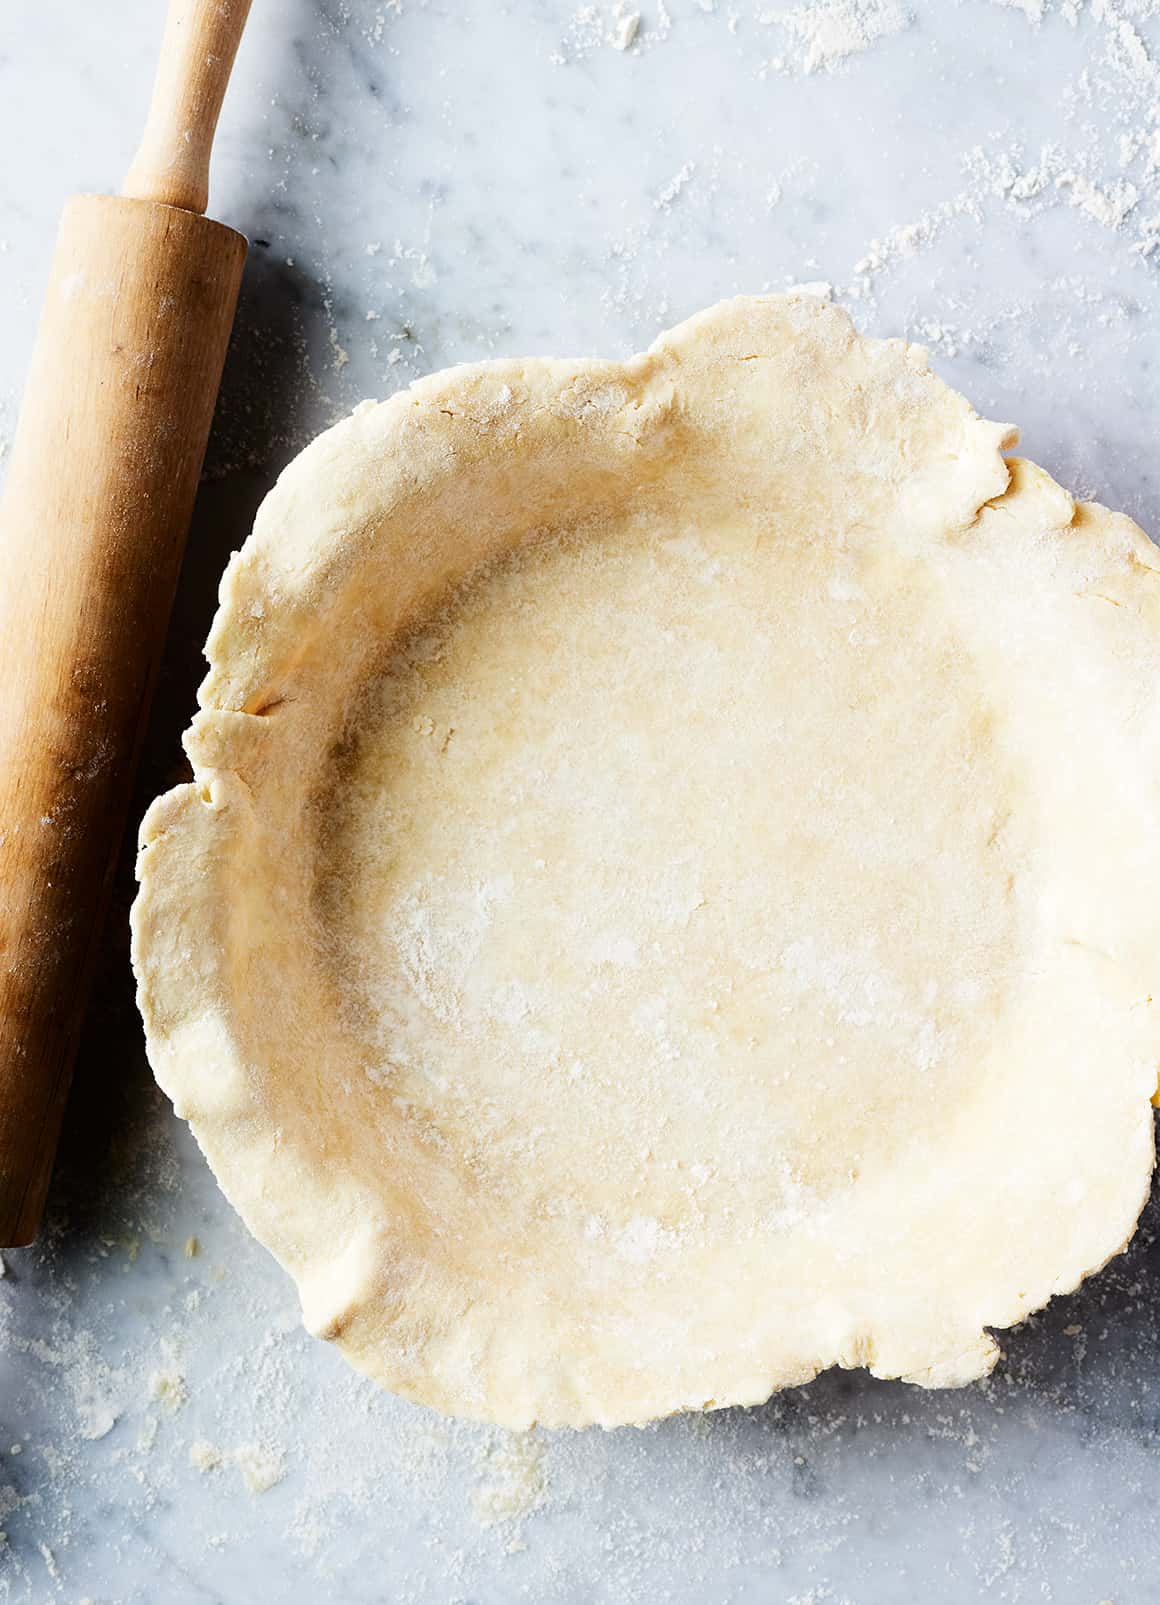
Finally, transfer the dough to your pie plate. Gently roll it over your rolling pin. Then, unroll it over the pie dish and press it firmly into the bottom and up the sides.
If you’re making a double crust pie, roll out the second disk of pie dough using the same method. Assemble and bake according to your desired pie recipe!

Easy Pie Crust Recipe Tips
- Keep everything cold. Making pie crust with butter has huge benefits, especially in terms of flavor. But the downside of working with butter is that it melts easily. In order to make a light and flaky crust, you want the butter to melt in the oven, not while you’re making the dough or assembling the pie. My best tip for ensuring this happens is just keeping your ingredients cold. I like to take butter straight from the fridge, cut it into pats, and stick it back in the fridge while I gather the rest of the ingredients. I also use cold vinegar and ice water in the dough. In addition, it’s important that you don’t cut the chilling time short. Make sure to refrigerate the pie dough for at least 2 hours before you roll it out!
- Fold in the water using a spatula. I find that when I add it in the food processor it gets stuck under the blade, so it doesn’t evenly hydrate the dough. Folding the dough with the spatula helps create nice layers, too.
- Don’t let it scare you. With this easy pie crust recipe, you’ll be able to make great homemade pie crust on your first try. It removes a lot of the guesswork that you’d find in a traditional pie crust recipe, and it yields a dough that’s pliable and easy to work with. Don’t be afraid to try it! I hope you love the results, and like anything else, the more you practice making perfect pie crust, the easier it gets.

Looking for a pie recipe? Use this homemade pie dough to make my Sour Cherry Pie or this Crumble Apple Pie.

Easy Pie Crust
Serves 8
Learn how to make perfect flaky pie crust! This easy recipe works well with almost any type of pie. A few tips: Make sure to keep your ingredients cold, adding cold water and butter to the dough to prevent the butter from melting. Also, don’t be tempted to cut the chilling time short. Thoroughly chilling the dough is essential for making perfect pie crust. Find more tips in the post above! This recipe makes one 9- or 9½-inch double-crust pie or two single-crust pies.
- 2⅔ cups all-purpose flour, spooned and leveled
- ¾ teaspoon sea salt
- 20 tablespoons cold unsalted butter, 2½ sticks, cut into ¼-inch pats
- 6 tablespoons ice water
- 1 teaspoon cold apple cider vinegar
-
In a food processor, place 1⅔ cups of the flour and the salt. Pulse to combine. Spread the butter pats evenly on top of the flour mixture. Pulse until the butter is well combined with the flour and the dough starts to form clumps. There should be no dry flour remaining.
-
Spread the mixture evenly in the bowl of the food processor and sprinkle the remaining 1 cup flour on top. Briefly pulse until the dough becomes crumbly.
-
Transfer the dough to a large bowl and sprinkle the water and vinegar on top. Use a spatula to fold and press the dough until it comes together into a ball. Divide the ball in half and form each half into a 1-inch-thick disk. Wrap each disk tightly in plastic wrap and chill for at least 2 hours or up to 2 days.
-
To roll out the dough: Place 1 disk of the chilled dough on a lightly floured surface. Dust the top with flour and use a rolling pin to roll it out into a large circle about ⅛-inch thick. If you invert your pie plate over the dough, the circle should be 1 inch larger than the edge of the pie plate on all sides. As you work, rotate the dough a quarter turn every few rolls to prevent it from sticking to your work surface. I also like to dust the top of the dough with flour and flip it over a few times during the rolling process.
-
To transfer the rolled-out dough to your pie plate, roll the dough over the rolling pin and unroll it over the pie plate. Use your fingers to press it firmly into the bottom and up the sides of the plate. Trim the edges of the dough so that there is a ½-inch overhang on all sides of the pie plate. Loosely cover the dough with plastic wrap and chill while you roll out the top crust.
-
Repeat the rolling process with the remaining dough disk, rolling it out into a large, ⅛-inch-thick circle.
-
Assemble and bake according to your desired pie recipe.