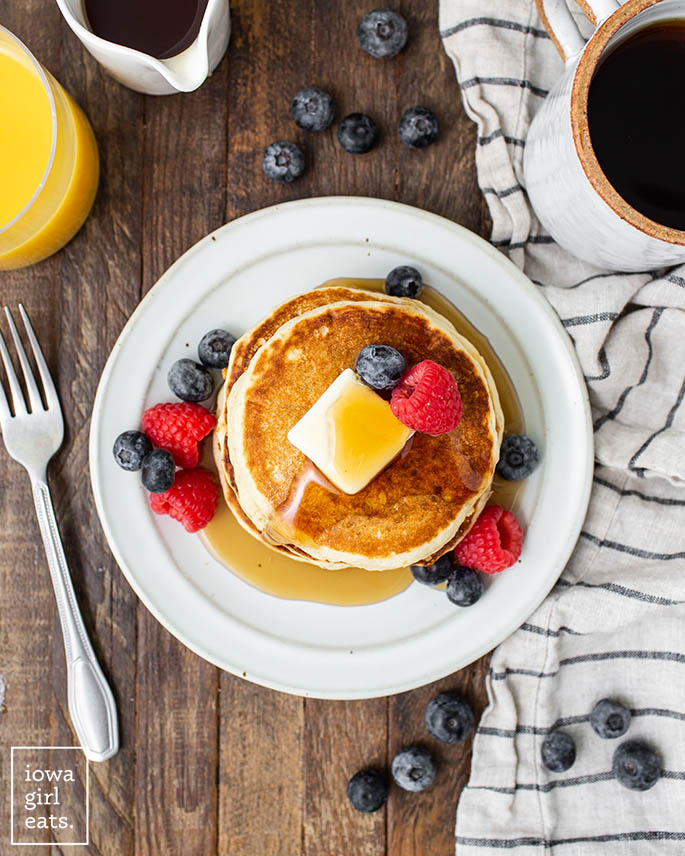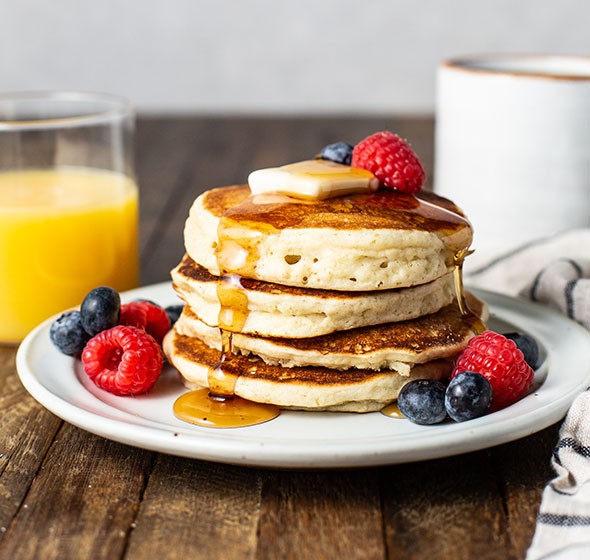
Easy Gluten Free Pancakes are light, fluffy, and made with fridge and pantry staples in minutes. Meet your new, go-to gluten free pancake mix!
I’ve somehow landed deep inside #dinerTok on TikTok where I find myself watching breakfast diner cooks flip everything from blueberry-studded pancakes to a mass of over-easy-eggs with the flip of a wrist on enormous black top griddles.
It’s oddly satisfying?
As I watch those perfect, golden-brown pancakes being flipped and flopped, I inevitably start craving some for myself. Luckily gluten free pancakes are a cinch to whip up at home — no restaurant required.
I’ll still show you how to get that diner-style golden brown top though!
Here’s How to Make Them
Easy Gluten Free Pancakes live up to the name and are a totally cozy way to start your day, or welcome the weekend. I actually make them a lot for my kids as BFD (breakfast for dinner.) The looks on their faces when I tell them gluten free pancakes are on the dinner menu instead of spaghetti?
PRICELESS!
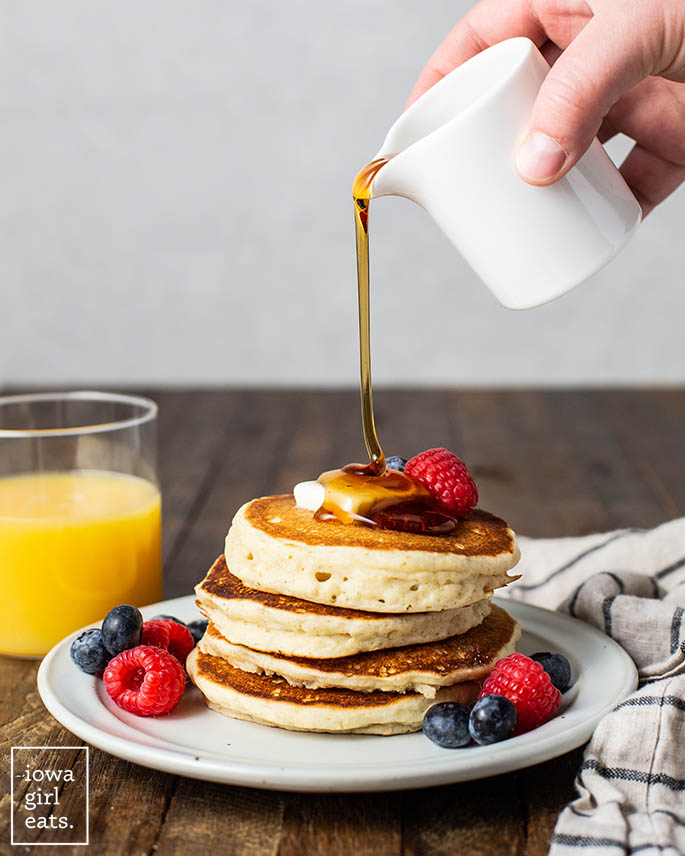
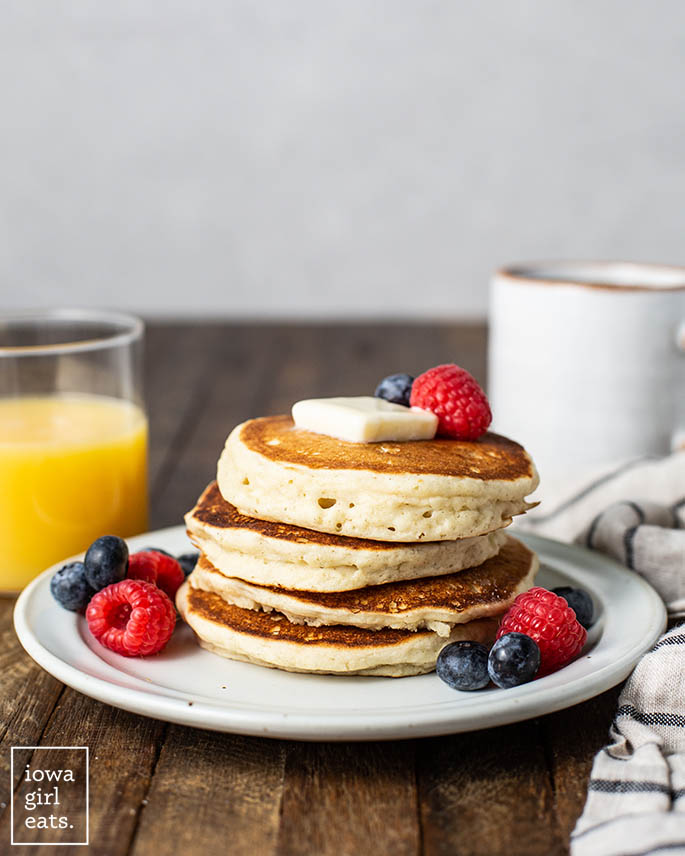
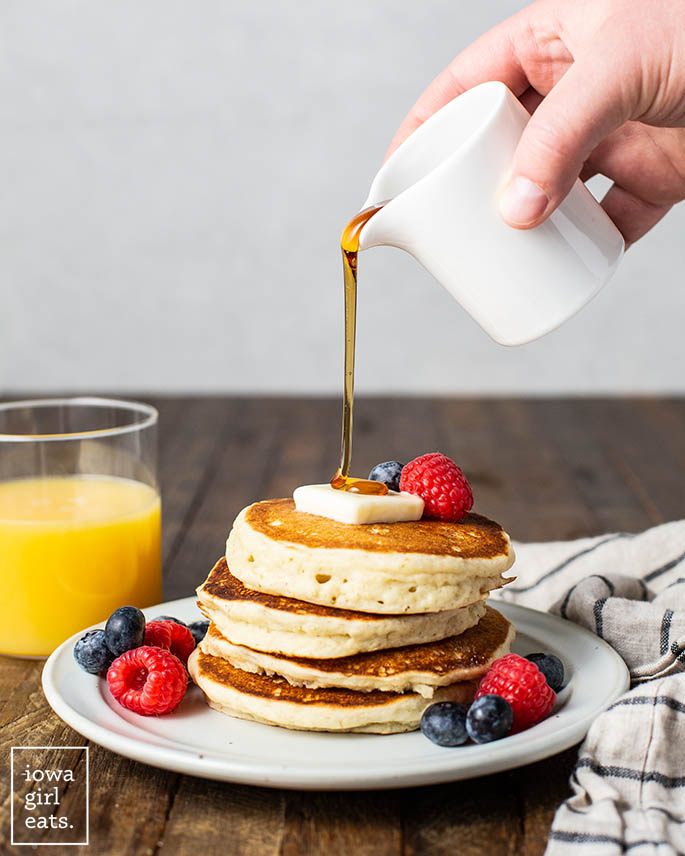
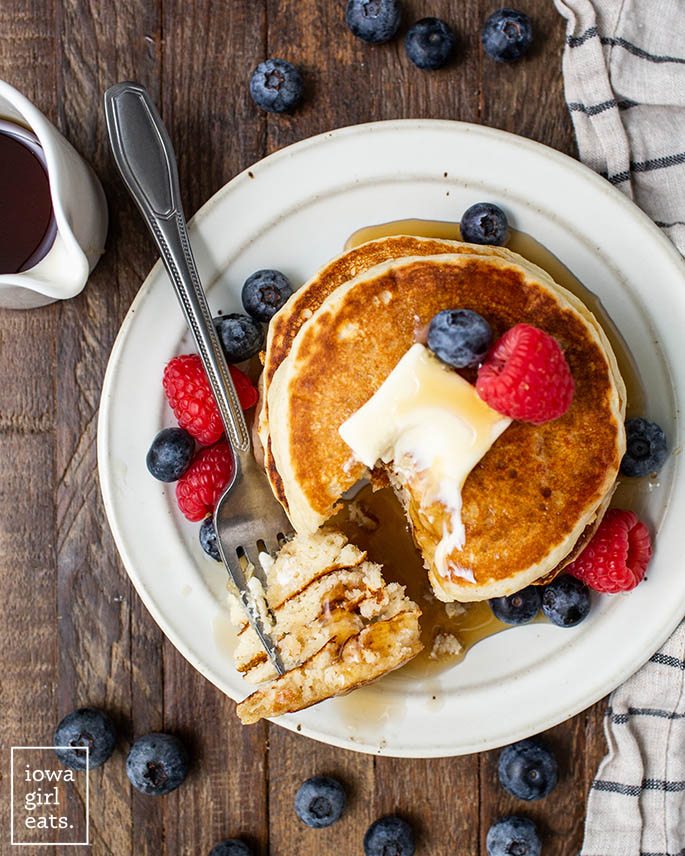
Don’t let the gluten free label throw you — we’re talking tall pancakes with a fluffy texture that are perfect for piling high then topping with butter, real maple syrup, or homemade Butter-Pecan Syrup.
Just like the “real” thing.
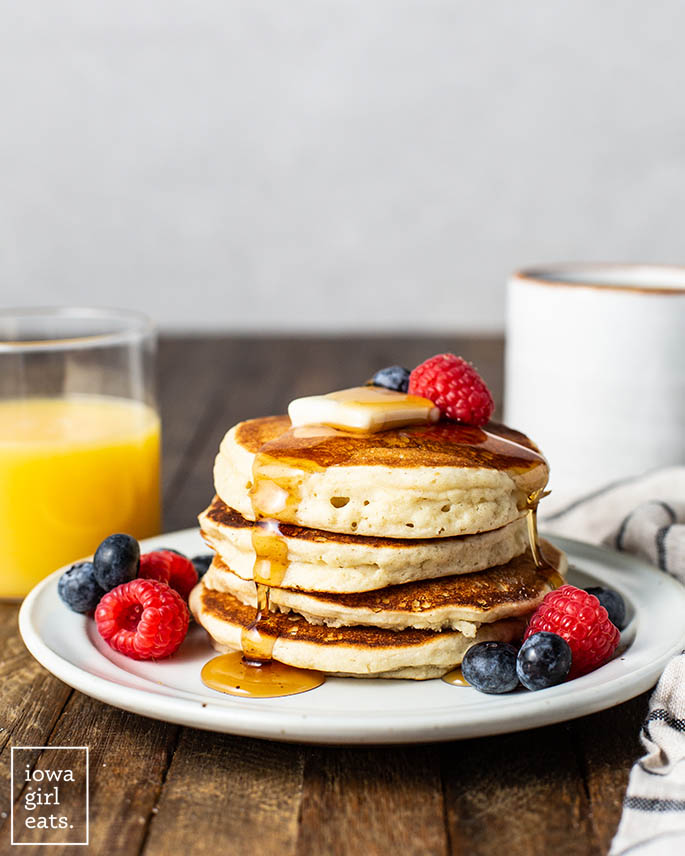
What Are Gluten Free Pancakes Made With?
My easy gluten-free pancake recipe is made with fridge and pantry staples including a “measure for measure” gluten free baking flour blend. The batter is mixed up in minutes then, after a brief rest, its ready to cook, flip, then drizzle with maple syrup – woo!
Here’s what you’ll need:
- Gluten free baking flour blend: This can be called “1 to 1”, “measure for measure”, or “all-purpose” gluten-free flour blend, which means it can be swapped in equal quantities with all-purpose flour in a recipe. More on this below!
- Granulated sugar: Just a bit lightly sweetens the batter.
- Baking powder: Helps our gluten free pancakes become light and fluffy. Ensure your baking powder is fresh before cooking.
- Salt: Just a pinch to balance out the sweetness from the sugar and pancake toppings.
- Milk: I use unsweetened almond milk but you can use whatever you keep on hand for drinking. Cow’s milk will brown the best, but any plant based, dairy-free milk like oat milk, soy milk, etc will work.
- Egg: I have tested this recipe with powdered egg replacer and a flax egg, and the pancakes do come out a little gummy. That said, it can still work as egg-free pancakes if you don’t mind a slightly different texture compared to regular pancakes.
- Butter: Melted butter or melted vegan butter helps give the outside of the pancakes that irresistible golden glow.
- Vanilla extract: Adds a hint of cozy flavor.
Best Gluten Free Flour for Pancakes
As I mentioned, this recipe uses a gluten free baking flour blend that already contains a binder such as xanthan gum.
If you have a baking flour blend on hand that you love and use regularly, that will most likely work in this recipe – it’s not fussy! Again, just make sure it has a binder. This recipe will not work with single gluten free flours like almond flour, rice flour, oat flour, or coconut flour.
Here are the two flours I usually use to make gluten free pancakes:
How to Get Diner-Style Gluten Free Pancakes
Pancakes are great for cooking on an electric flat top griddle or griddler — I usually opt for this when I’m making silver dollar-size pancakes for my kids, which I scoop with a cookie scoop, since I can cook a bunch at a time — but to get that signature, diner-style, golden brown top to your pancakes, cook them one or two at a time in a preheated cast iron skillet over medium / medium-low heat.
Brush the bottom of the hot skillet with butter, or spray with nonstick spray, then scoop 1/4 cup batter into the bottom and cook until the top and sides of the pancake form little bubbles that pop. Use a spatula to peek at the bottom of the pancake to ensure it’s golden brown, then flip and cook until the bottom is golden brown, 2 more minutes or so.
It sounds silly — but to get beautiful, perfectly browned gluten free pancakes is a beautiful thing!
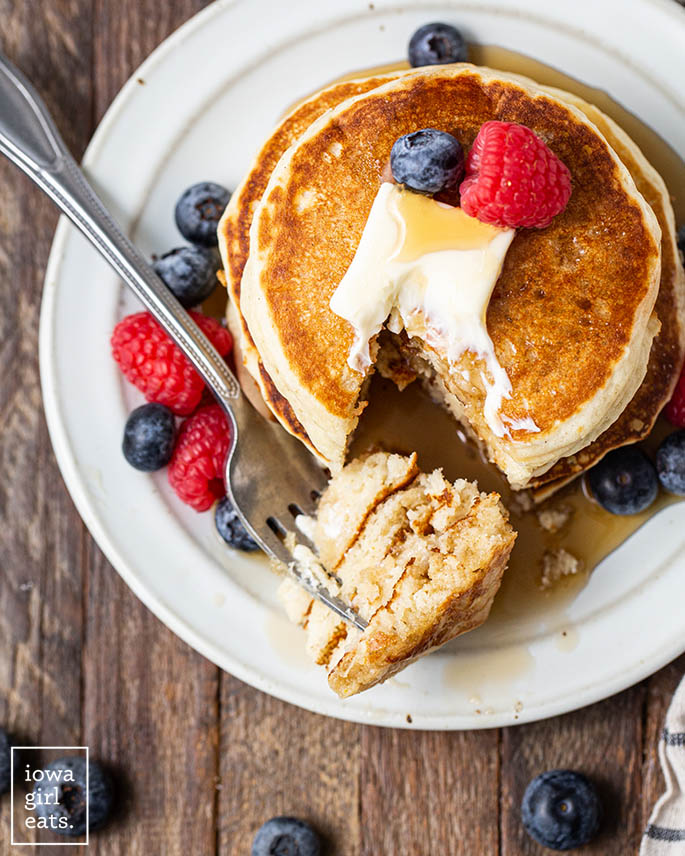
Tips for PERFECT Gluten Free Pancakes
As I said, pancakes are about as unfussy as they come, but here are my best tips for achieving the best gluten-free pancakes:
- Let the batter rest. Gluten free baked goods can occasionally come out gritty if the flour hasn’t had a chance to properly hydrate first. That said, let the batter rest for 5-10 minutes after mixing before cooking.
- Preheat properly. Ensure your cooking surface – whether it be a cast iron skillet or electric griddle – is fully preheated. I like to keep the heat under my cast iron skillet around medium-low because it holds onto heat so well, while I crank the temperature on my electric griddle to around 375 degrees.
- Serve immediately. Gluten free pancakes are best served right after cooking, as they can sink a little and become chewy as they cool. That said, they CAN be kept warm in the oven, and/or frozen. See below!
Gluten Free Pancake Mix
It’s hard to deny that having a box or bag of gluten free pancake mix on hand in the pantry is pretty convenient. Good news: you can multiply the gluten free pancake dry mix recipe and store it for later use!
Add the dry ingredients into individual plastic baggies to keep on hand for your next pancake breakfast or brunch. Or, multiply the dry ingredients by 2, 3, or 4 (or more!) and store in an airtight container. Combine 1 cup + 3 Tablespoons dry mix with the wet ingredients listed to create one batch of gluten free pancakes. Add more milk as needed if the batter is slightly thick.
Alright, I can’t wait for you taste what I consider the best gluten-free pancake recipe, so let’s get to flipping!
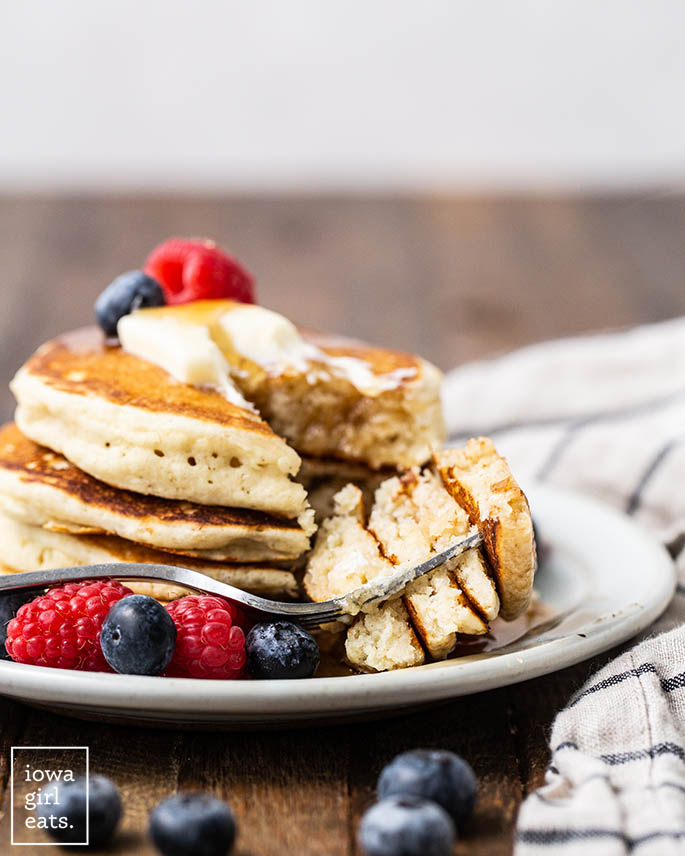
How to Make Easy Gluten-Free Pancakes
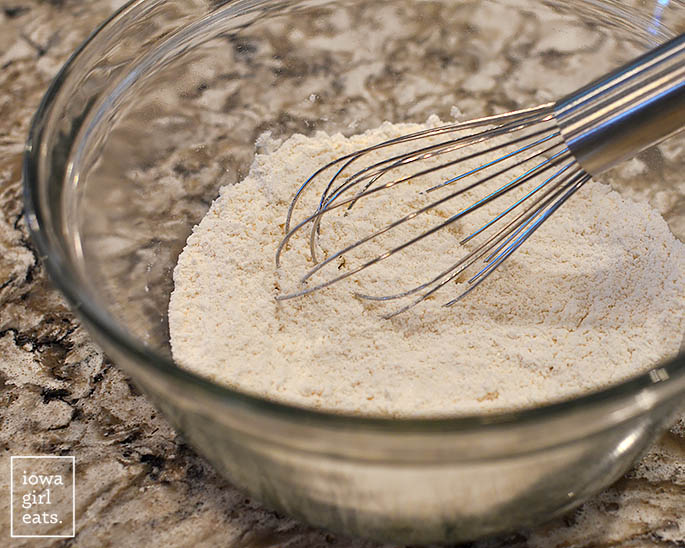
Start by mixing the dry ingredients. To a medium bowl add the gluten free flour blend, sugar, baking powder, and salt then whisk to combine.
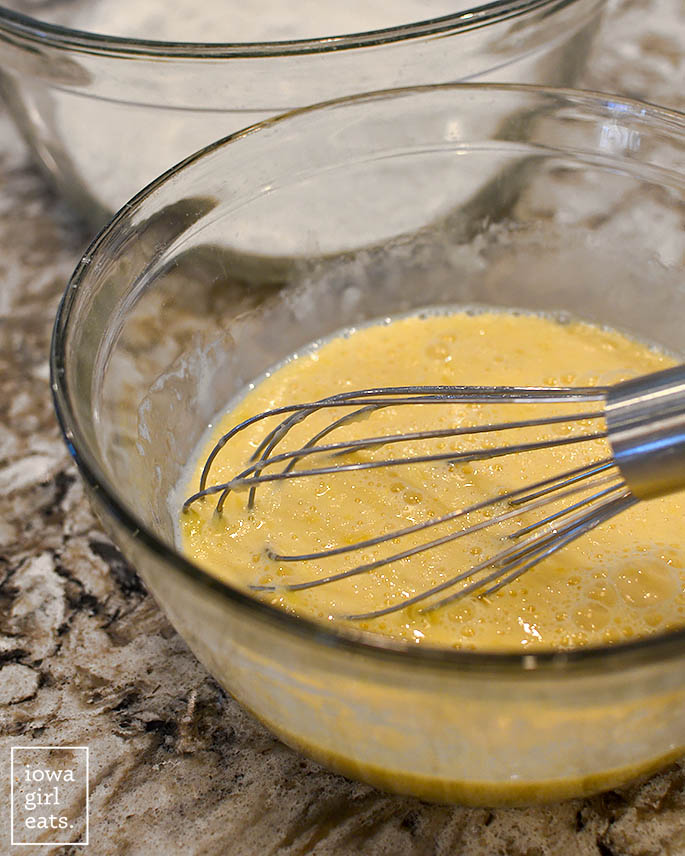
In a smaller mixing bowl, add the milk, egg, melted butter, and vanilla then whisk to combine.
Pour the wet ingredients into the dry ingredients then whisk to combine. Let the batter rest for 5 – 10 minutes while your pan preheats. Again, we’re going for medium – medium-low if using a cast iron skillet, or medium – medium-high if using an electric griddle.
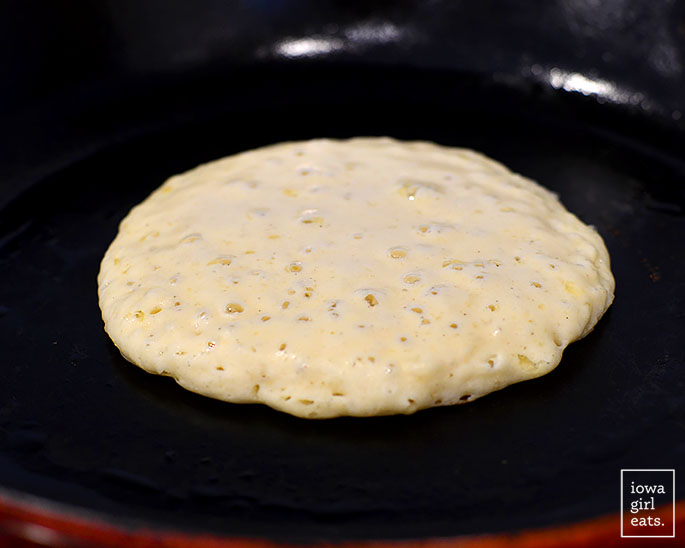
Spray the cooking surface with nonstick spray, or brush with melted butter, then scoop 1/4 cup pancake batter into the bottom. Let the pancake sit undisturbed until little bubbles form on the top and sides of the pancake and pop.
Check the bottom of the pancake to ensure it’s golden brown then…
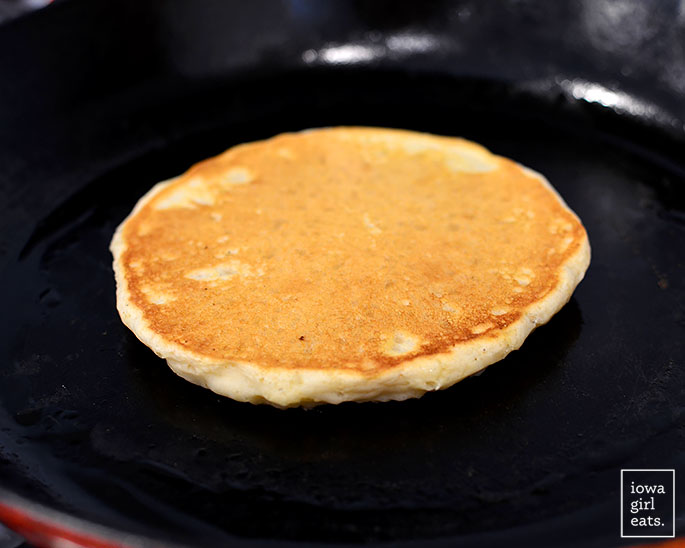
FLIP! So gorgeous, right!?
Cook until the second side is golden brown then serve right away.
Gluten Free Pancake Variations
My kids beg for mini chocolate chips to be added to their gluten free pancakes – that said, this recipe holds up well to additions, and toppings are of course a must. Here are some ideas:
- Standard mix-ins. Chocolate chip pancakes and blueberry pancakes are always winners at my house. We love Enjoy Life Mini Chips and fresh blueberries, respectively!
- Get creative. Send yourself on vacation if only in your mind by adding diced mango and shredded coconut on top of your pancakes. Make cozy fall pancakes with chopped apples and cinnamon.
- Go healthy. Greek yogurt and honey, or natural nut butter and an array of fresh berries, are tasty toppings that pack in the protein.
- Go decadent. Layer your pancakes with whipped cream, sliced bananas, and toasted pecans for an over-the-top breakfast treat.
- Go homemade. You have not LIVED until you’ve tried my homemade Butter-Pecan Syrup. Life changing, I’m telling you!
How to Keep Gluten Free Pancakes Warm
If you want to keep a batch of gluten free pancakes warm, place them on a parchment paper-lined baking sheet in the oven set to the “warming” setting, usually 100-200 degrees, for no more than 20 minutes. They can dry out and sink if left longer.
Can This Recipe Be Frozen?
Just like regular pancakes, gluten-free pancakes are fantastic for freezing. Again, place them on a parchment-lined sheet pan then freeze solid in the freezer. Transfer the frozen pancakes into a freezer bag where they’ll keep well for up to 2 months.
Reheat from frozen in the microwave on 50% power, or pop into the toaster oven to warm through!
Pancake Syrup vs Maple Syrup
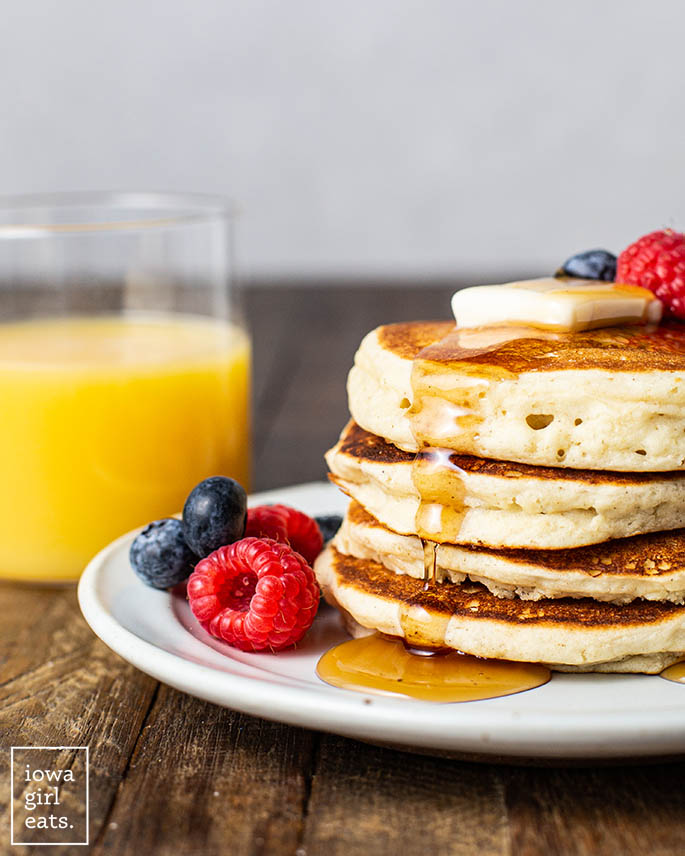
Lastly, I urge you to drizzle your light and fluffy gluten free pancakes with pure maple syrup vs pancake syrup.
- Pure maple syrup is a more readily available and economical than ever. Kirkland (Costco) has incredible pure maple syrup for ~$10/jug. I actually prefer the flavor compared to fancier and more expensive maple syrups!
- Pancake syrup is brown-colored corn syrup and water.
That said, once you go pure maple syrup, you’ll never go back!
More Gluten Free Breakfast Recipes
free email bonus
Dinner Made EASY
5 days of simple yet flavorful recipes that take the stress out of dinnertime!
Perfect Gluten Free Pancakes
Description
Easy Gluten Free Pancakes are light, fluffy, and made with fridge and pantry staples in minutes. Meet your new, go-to gluten free pancake mix!
Ingredients
- 1 cup measure for measure / 1:1 gluten free baking flour blend (see notes for brand recommended)
- 2 Tablespoons granulated sugar
- 2 teaspoons baking powder
- small pinch of salt
- scant 1 cup milk (any kind, I use unsweetened almond milk)
- 1 large egg
- 2 Tablespoons melted butter, plus more for brushing (optional)
- 1 teaspoon vanilla extract
Directions
- Add gluten free flour blend, sugar, baking powder, and salt to a medium-sized mixing bowl then whisk to combine. Add milk, egg, butter, and vanilla extract to a small mixing bowl then whisk to combine. Pour wet ingredients into dry ingredients then whisk until smooth and let batter sit for 5 – 10 minutes.
- While the batter is resting, preheat a large, cast iron skillet over medium-low heat, or an electric griddle set to medium heat, then spray with nonstick spray OR brush with melted butter. Scoop 1/4 cup batter onto the hot surface then, when lots of bubbles form on the top and sides of the pancakes and pop, and the bottom of the pancake is golden brown, flip then cook until the second side of the pancake is golden brown.
- Serve immediately, or place pancakes onto a parchment paper-lined baking sheet and keep warm in the oven set to the “warming” setting, typically 100-200 degrees, for no longer than 20 minutes.
- To freeze: Transfer cooked pancakes to a cooling rack to cool completely then place onto a parchment paper-lined baking sheet and freeze solid. Transfer to a Ziplock freezer bag then keep frozen for up to 2 months.
- To reheat: Wet a paper towel then wring out very well – it should barely be damp – then place on top of pancakes on a microwave-safe plate and reheat in the microwave on 50% power until warmed through. Or, toast in a toaster oven until warmed through.
This recipe is courtesy of Iowa Girl Eats, http://iowagirleats.com.
Photos by Ashley McLaughlin
