If you love design, you might agree with me when I say that wrapping presents are something of an art form—the perfect temporary canvas on which to play with whatever colors, shapes, and textures happen to be inspiring you at that particular moment. The kicker? There’s something of a science to this art of how to wrap a present, and in the words of Pablo Picasso, “You have to learn the rules like a pro, so you can break them like an artist.”
So, before you go off buying every wrapping paper and ribbon in the store, let’s go back to basics, shall we? Scroll down for the step-by-step guide to wrapping a present perfectly.
Featured image by Anastasiya Pudova.

Subscribe
Free Holiday Cookie E-Book
Sign up to receive a FREE E-BOOK with 10 exclusive cookie recipes for the festive season.
Thanks for Signing Up!
Oops!
Looks like you’re already signed up or your email address is invalid.
Oops!
Looks like you unsubscribed before click here to resubscribe.
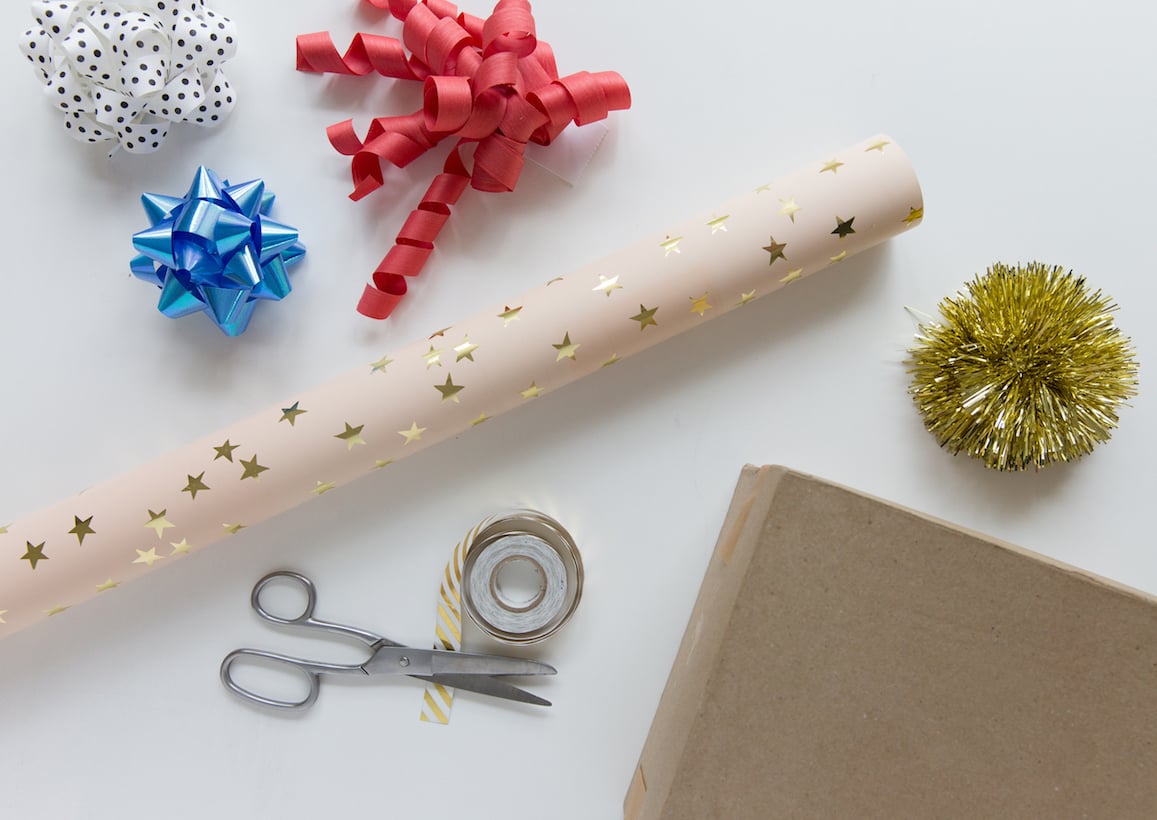
When it comes to gift wrapping, having a large flat workspace is super helpful. The work table in our new craft room makes it easy to gather all our supplies, and still have plenty of room to unroll a large roll of wrapping paper.
The single most important factor in neatly wrapping a present is starting with a correctly sized cut piece of wrapping paper. This is the hardest part to do (and the hardest part to explain!) so read carefully.
10 Steps to Perfectly Wrap a Present
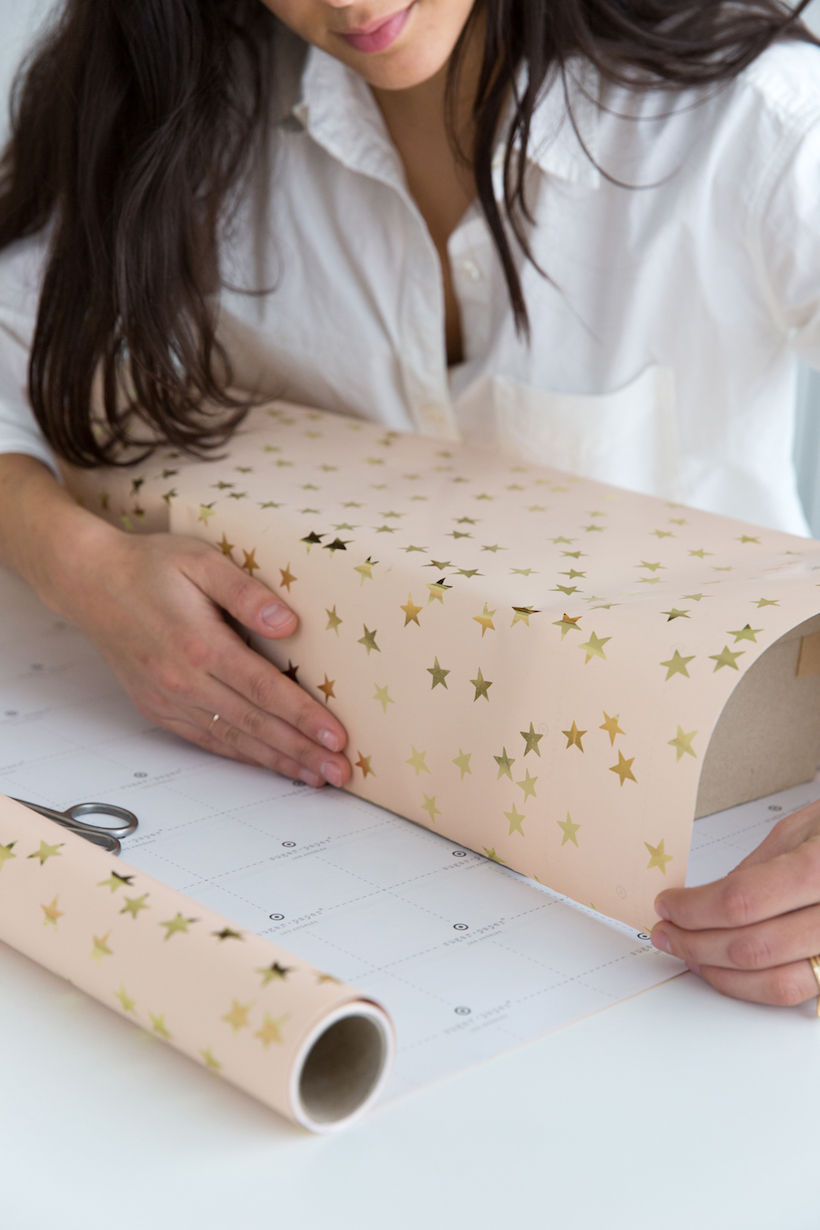
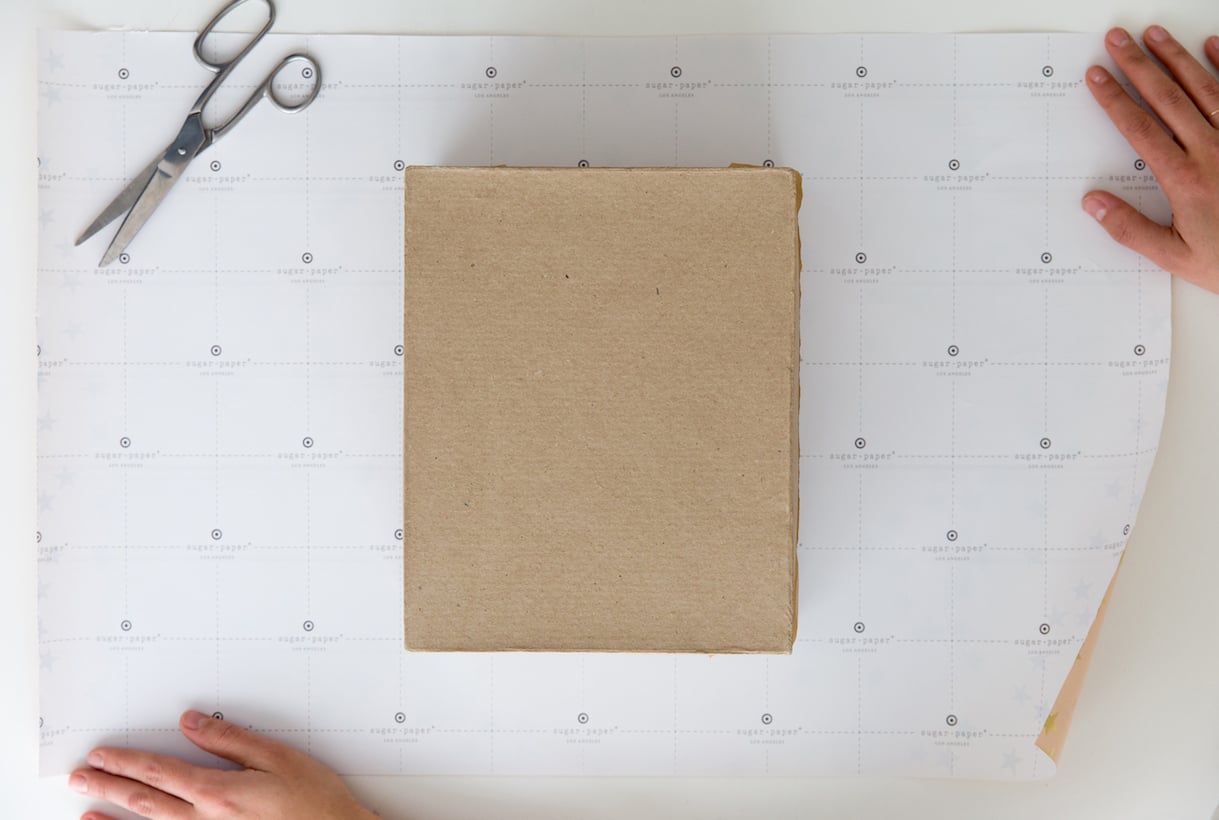
1. Unroll your wrapping paper face-down, and place your gift on top of it. If your gift is a rectangle, align the longer sides of the box to be parallel to the end of the roll. Fold the end of the paper up and over the gift until it fully wraps the box. Mark where the end meets the wrapping paper, and add on 1 inch. This indicates the width of your paper.
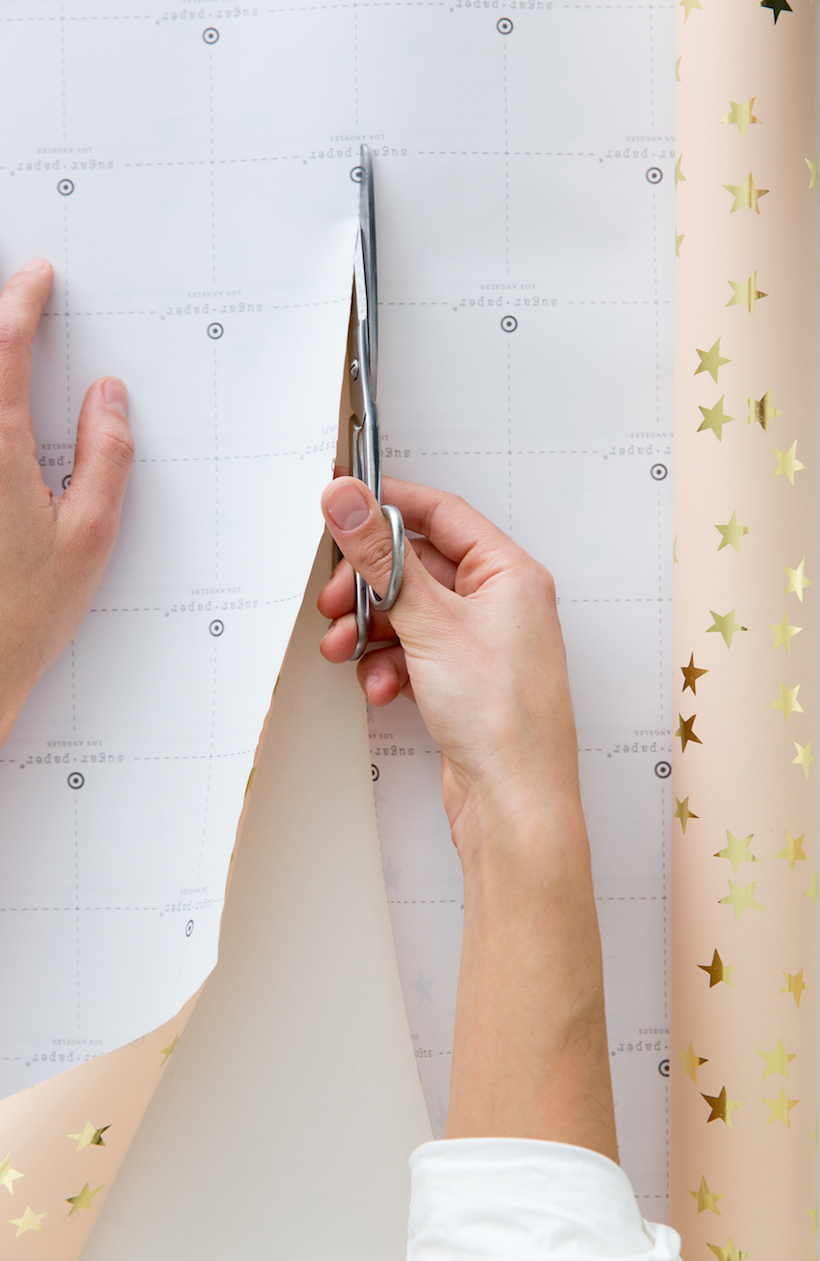
2. Cut along the mark from bottom to top. We love using Sugar Paper wrapping paper from Target because it has a grid on the back.
You should now have a piece of wrapping paper that is wide enough to wrap entirely across your gift but is too long.
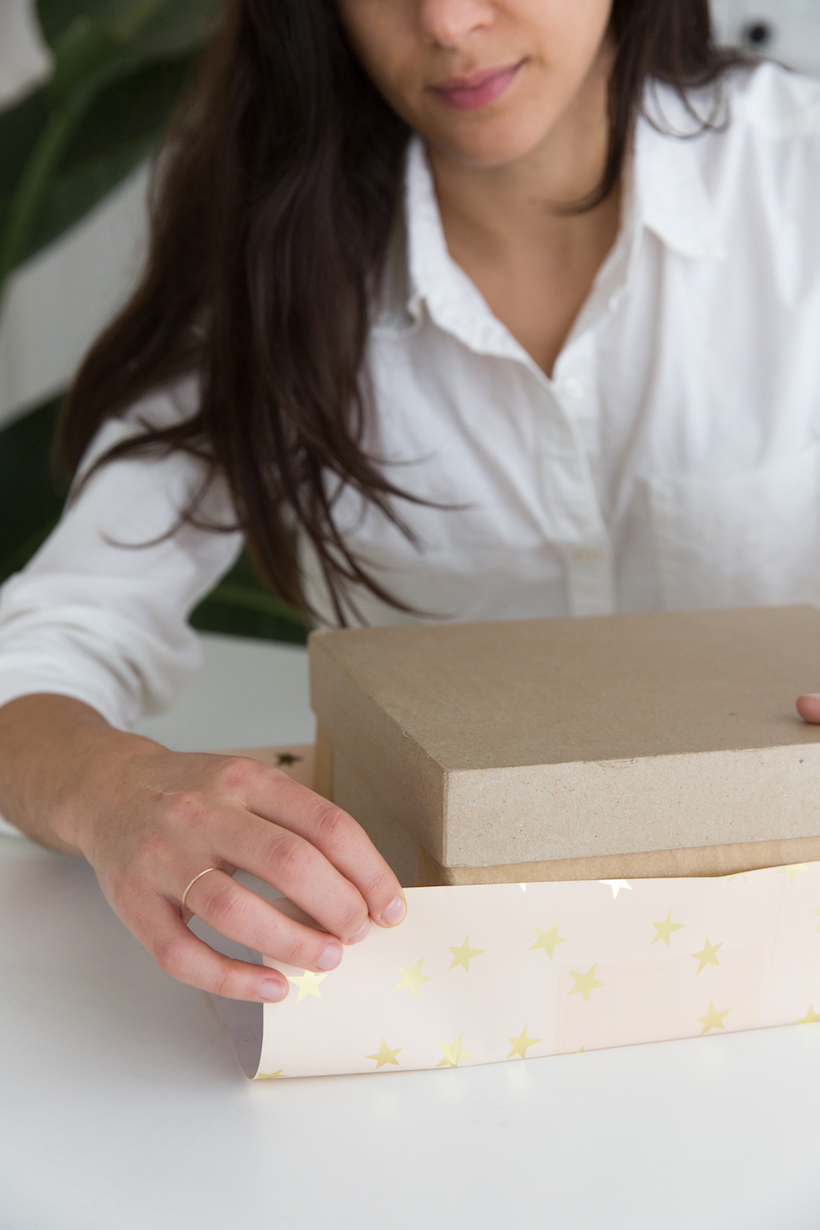
3. Make sure the box is still in place. Then, fold the top edge of the wrapping paper up to measure just over halfway up the side of the box. For example, if your box is 6 inches tall, you want the paper to measure around 3.5 inches. Do the same for the bottom edge of the box, and cut.
4. You should now have a piece of wrapping paper that’s perfectly sized to wrapping your gift box. From left to right, the paper should wrap all the way across the box. From top to bottom, the paper should come halfway up the sides of the box.
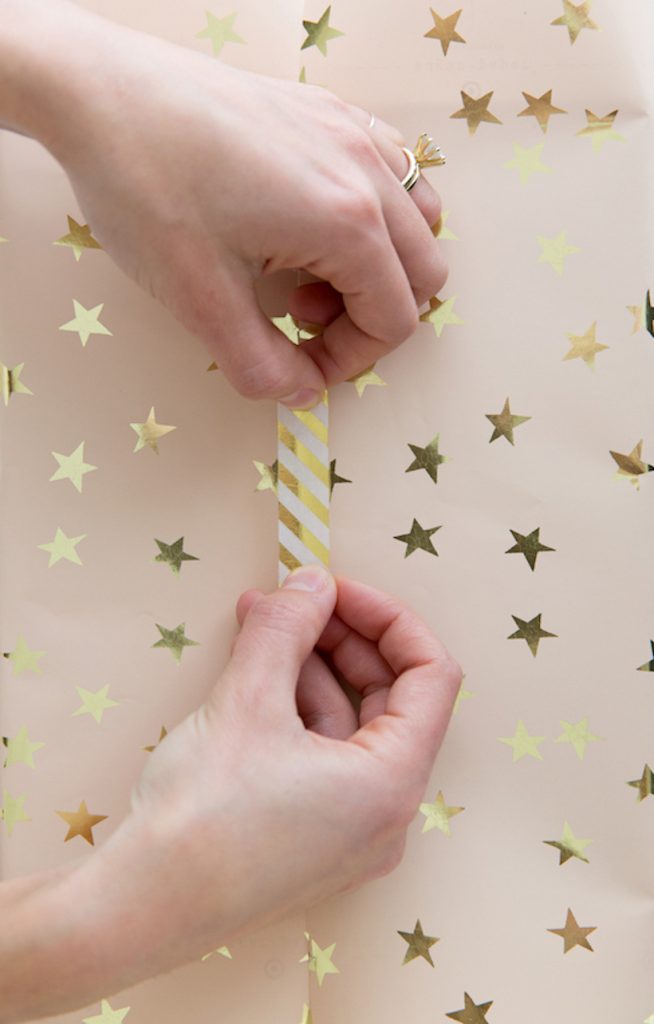
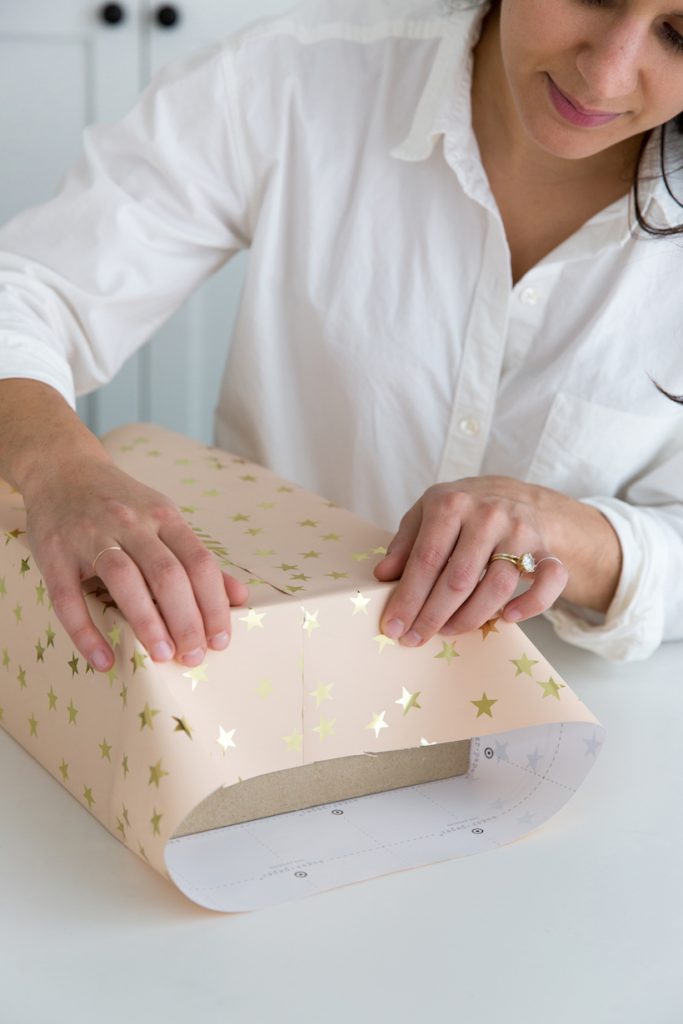
5. Wrap the left and right sides of the paper up and over the box to meet in the middle. Pull the paper taught, and secure in place with tape.
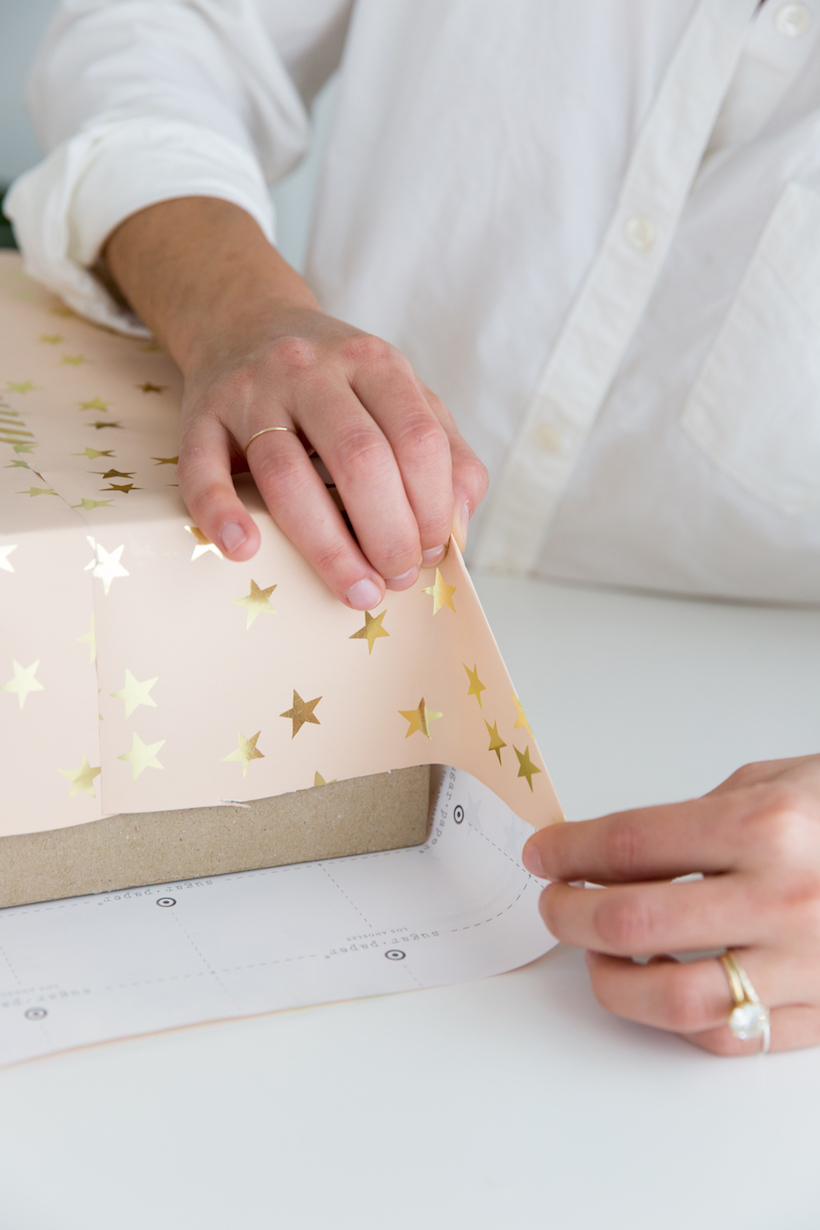
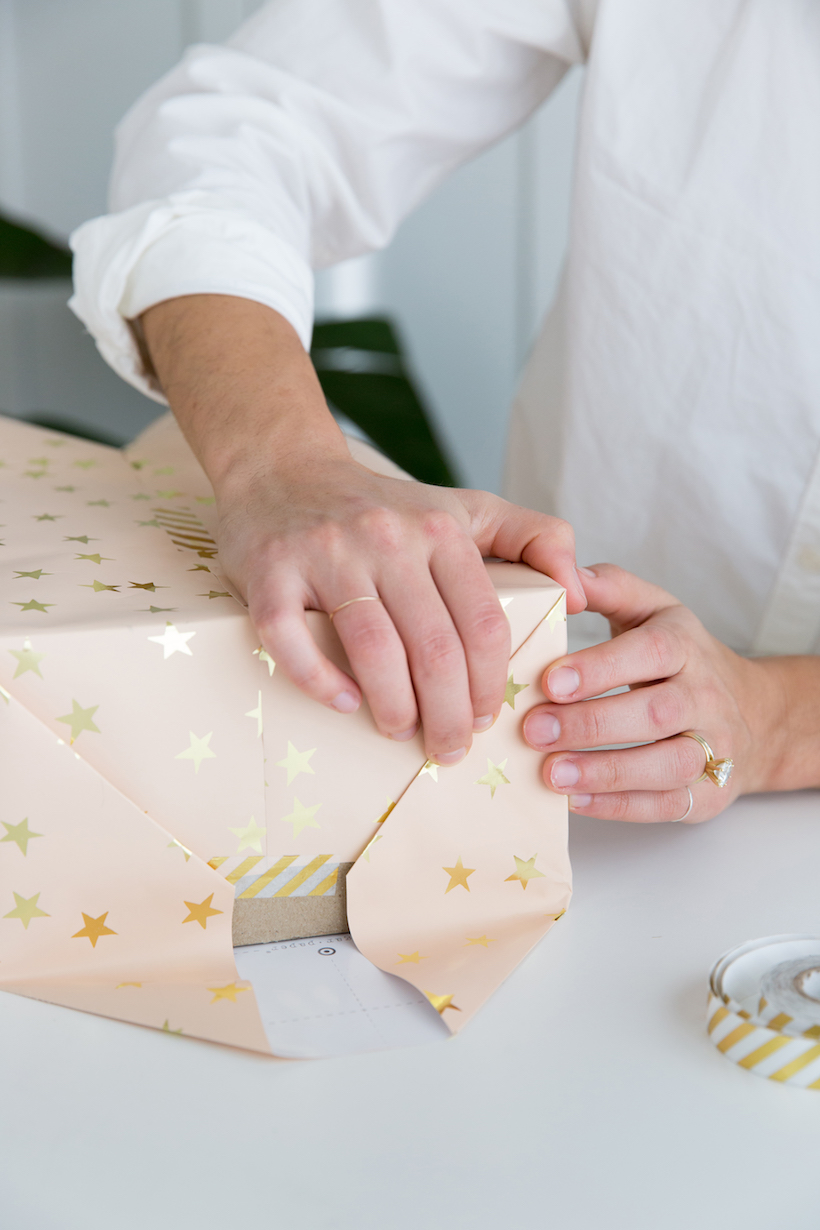
6. On the top open end, crease the paper over the corner as pictured and fold over. Tape this down onto the box for good measure.
7. Again, crease the paper as pictured.
8. Fold the two creased ends in as pictured. Fold the bottom flap up and crease firmly, then tape in place.
9. Repeat on the opposite end. Then take a step back to marvel at your picture-perfect gift wrapping job!
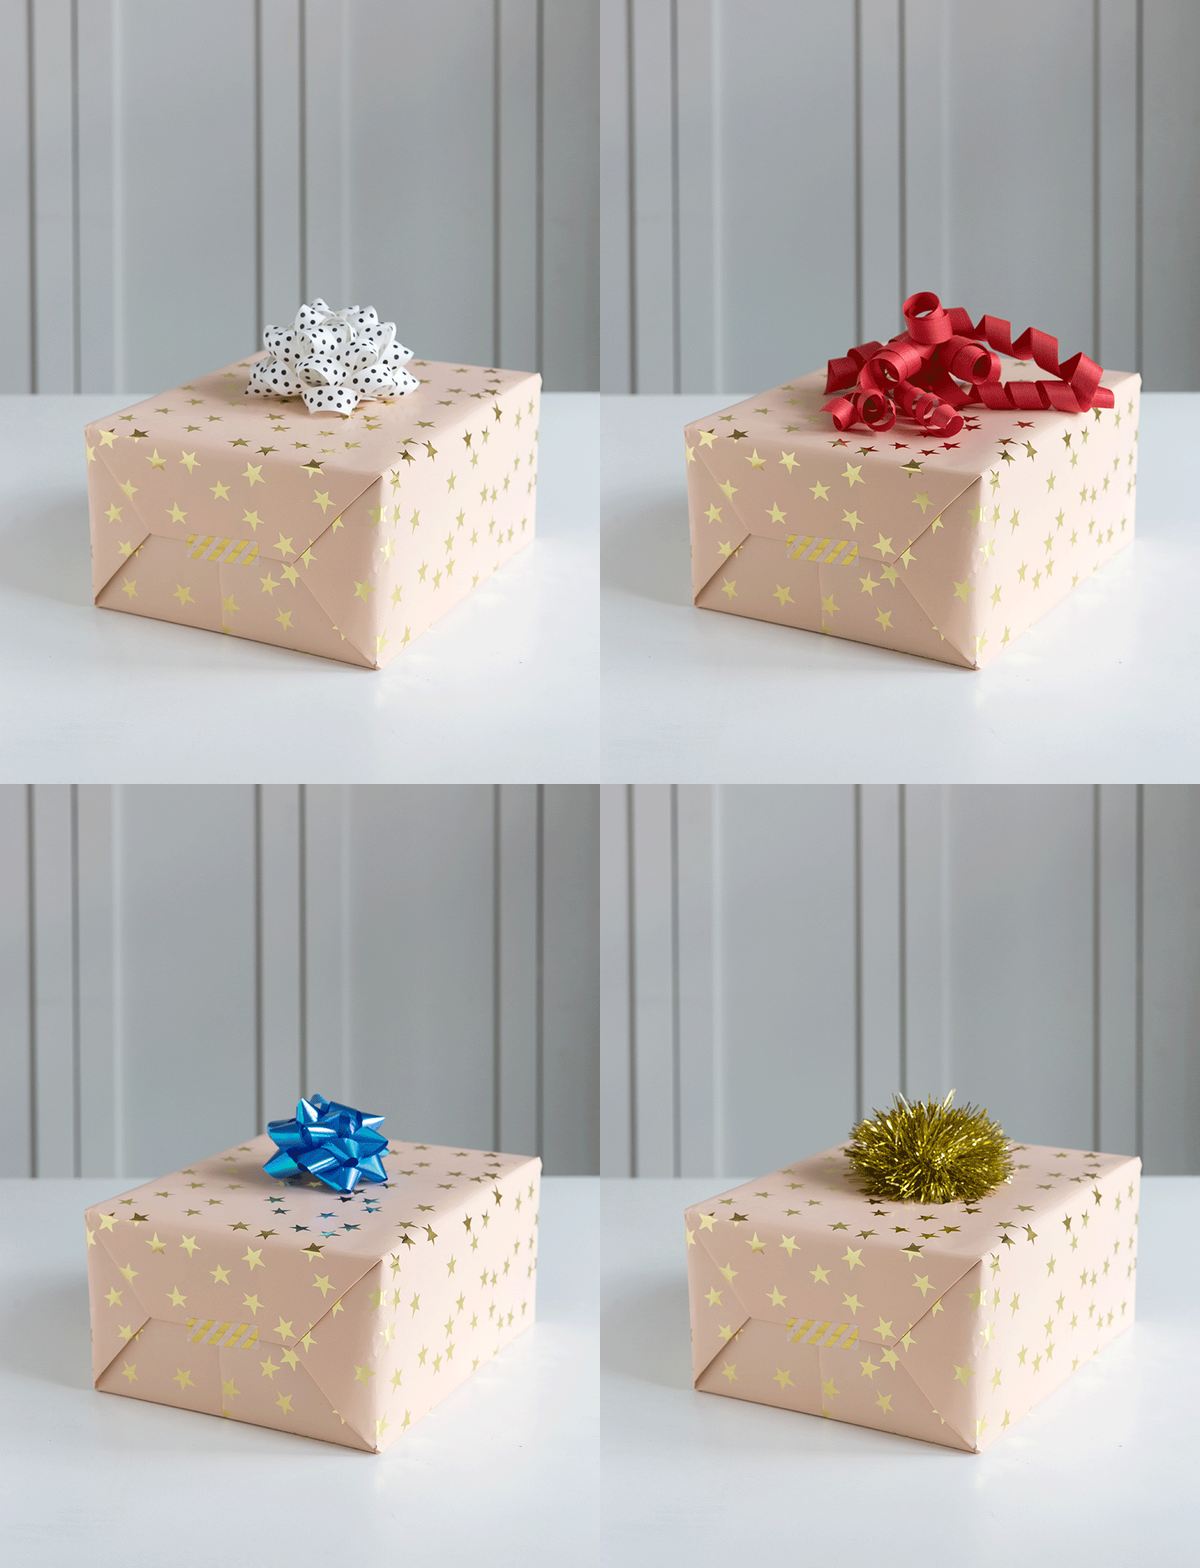
10. Add the ribbon or bow of your choosing!
Everything You Need to Wrap the Perfect Present
Let the gift wrapping begin! I rounded up all the best scissors, ribbons, paper, tissue, bows, and more to help you wrap a present that’ll look beautiful under any tree.
This post was originally published on December 13, 2021, and has since been updated.
