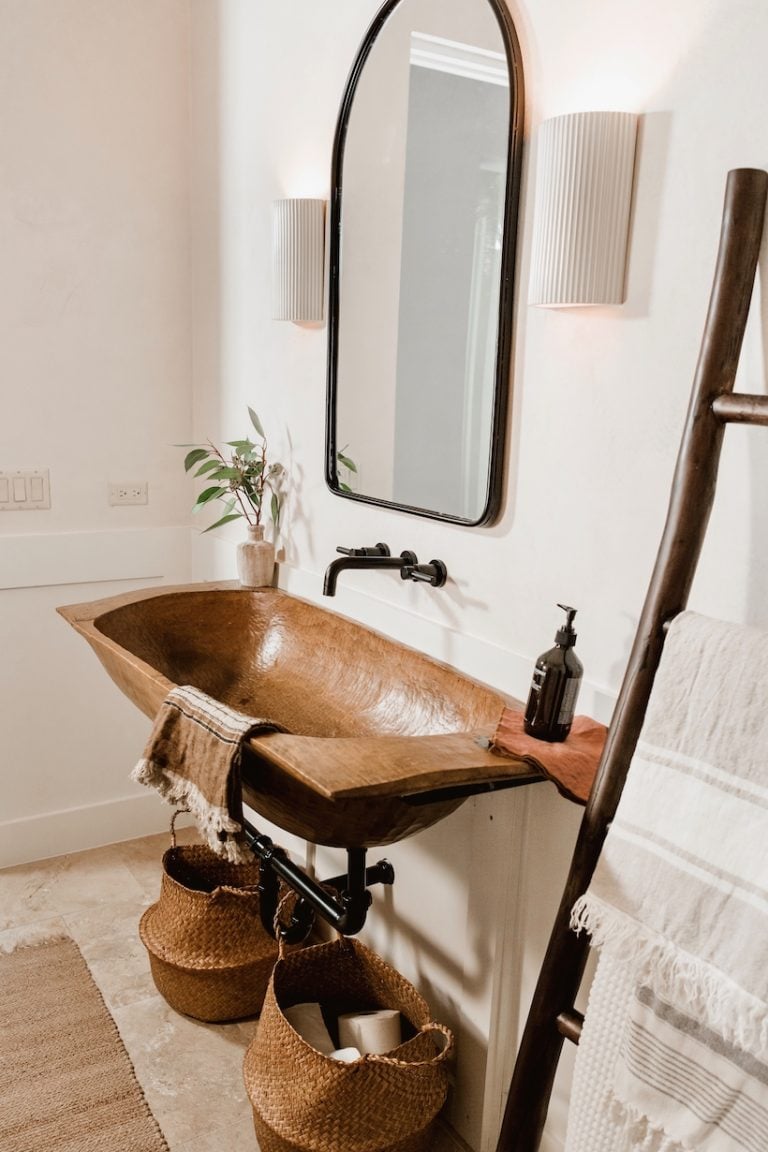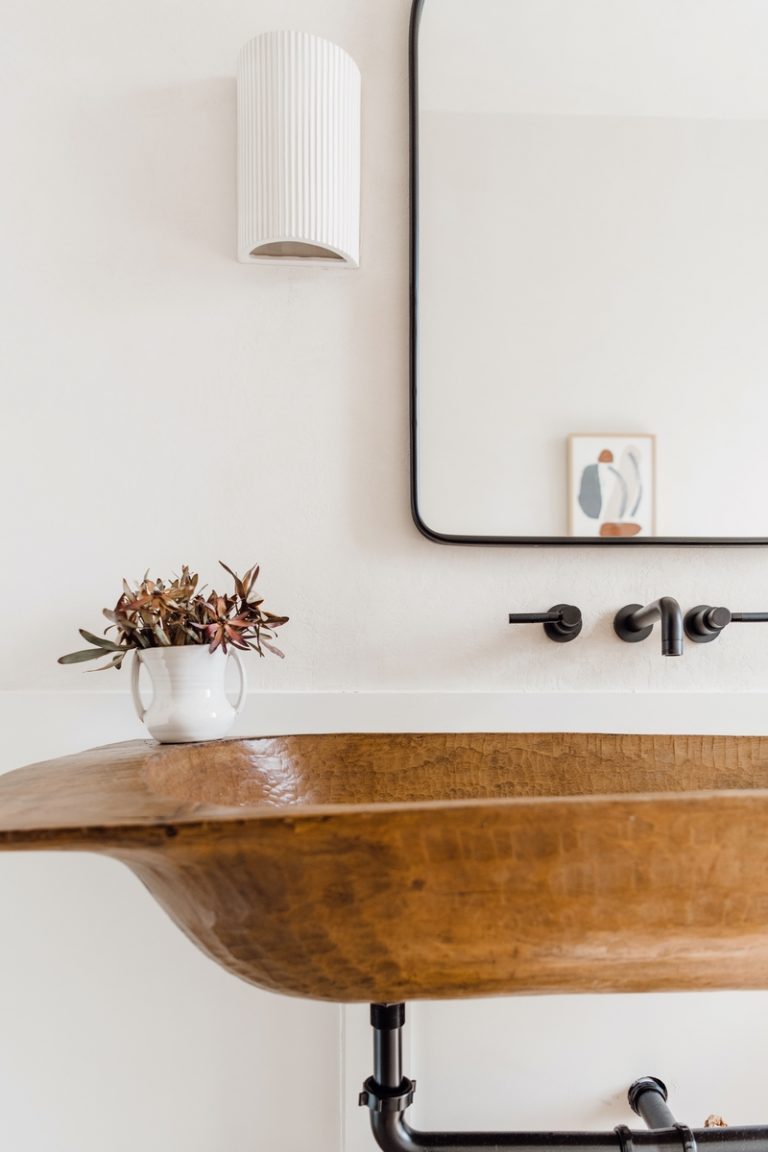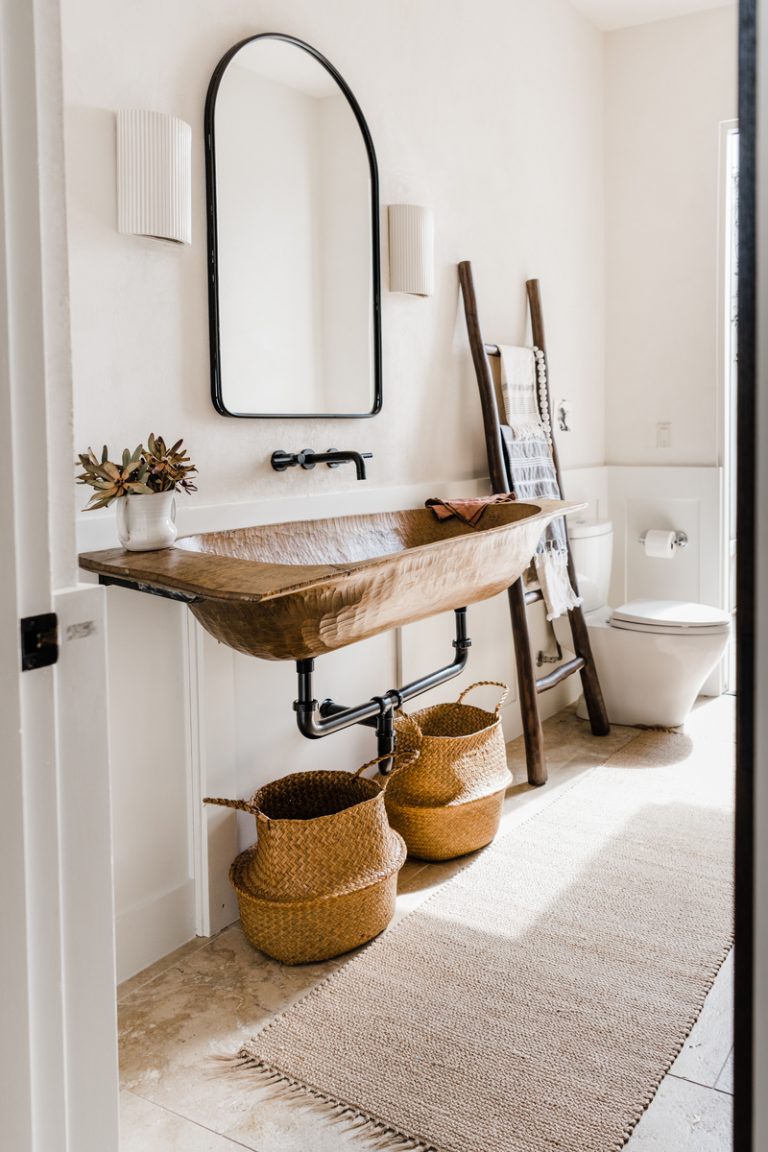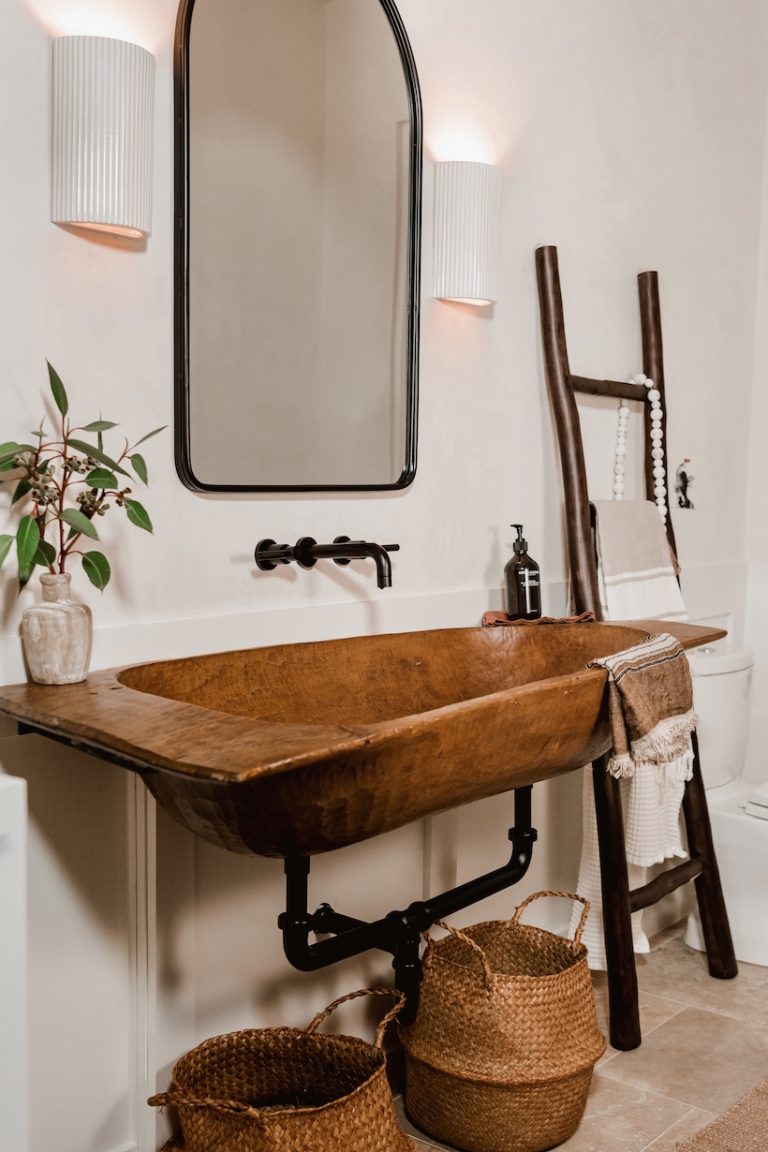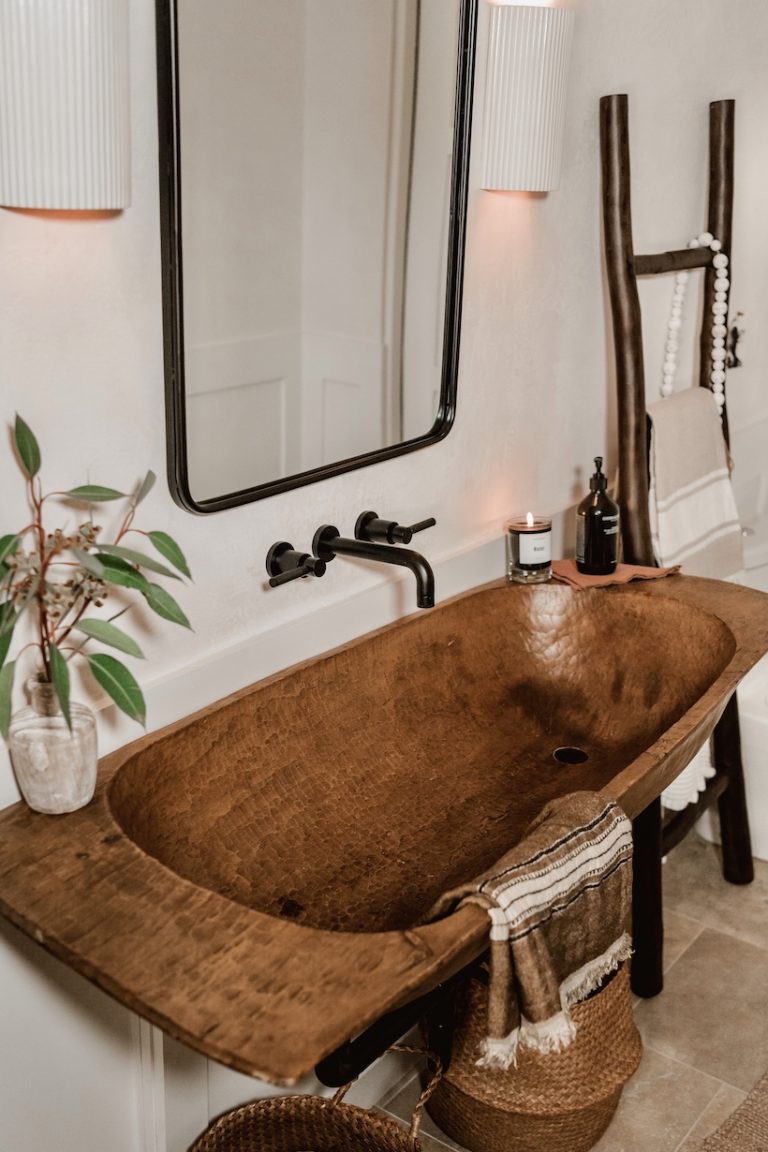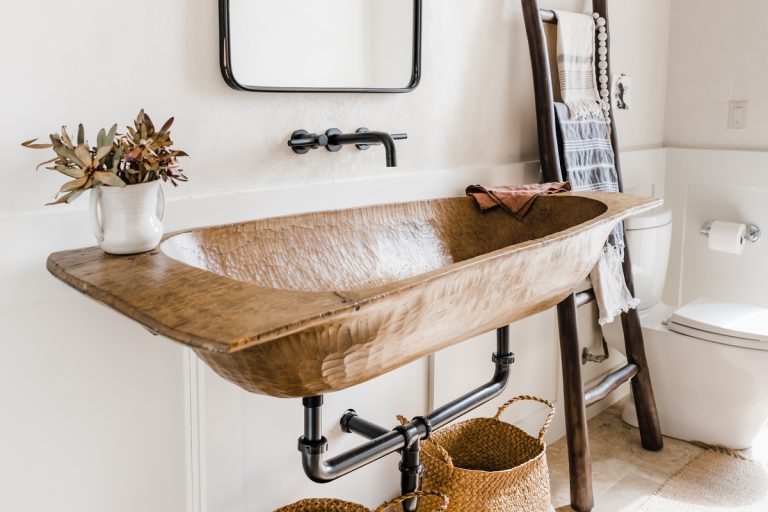
When it came time to narrow down our priorities for our recent home renovation, I knew that I had to set aside at least a little budget to makeover our powder bathroom. To be honest, this was one room in the house that I’d semi-neglected through the years – it looked exactly as it did when we built our house over a decade ago. Which is funny, because it’s the one room (outside of the living room and kitchen) that every single guest sees when they come over to our house. When I thought about it that way, I realized it was time to give this tiny room some TLC. However, I needed to keep my costs low since my budget was already being gobbled up by the living room, bedroom, and kitchen projects I’d undertaken, so I set my sights on one showpiece that would give me the most bang for my buck: a rustic bathroom sink made from an antique wooden dough bowl.
Where do you find an antique dough bowl?
A rustic bathroom sink made of wood was one of those design elements that I’d been pinning to my boards, but had never actually seen in real life or for sale. Which meant I was going to have to DIY my own, despite Adam’s misgivings about having a sink made out of wood (for obvious reasons.) I agreed that there was potentially a lot that could go wrong with a sink made out of wood, but I was determined to figure it out.
After a little research, I realized that an antique dough bowl would provide the trough-like shape I was looking for. One google search will turn up lots of them online, but it took me awhile to find one that was the perfect size, shape, and color.
After months of searching for the perfect vessel, I finally found it in an unlikely place: Pottery Barn was selling antique wooden dough bowls in a variety of large sizes. And no, these weren’t manufactured to “look” antique. Each one is an actual vintage, one-of-a-kind bowls – here’s the description from the website:
In the first half of the 20th century, Magyar bakers at farmhouses in Hungary and other Eastern European countries used these hand-carved wooden bowls to make bread each morning. Each is a found antique and therefore one of a kind.
I was sold. I paid $249 and grabbed the large size from curbside pickup.
But how do you turn an antique bowl into a rustic bathroom sink?
Here are the steps it took to bring this project to life…
- We sealed the wood surface to get it water tight, using these three products: Watco Tung oil (first), Varathane urethane oil based sealant (second), Olympic waterproofing sealant (third.)
- Our framer, James Downing (in Austin) installed two steel brackets into the wall that would “cradle” the dough bowl underneath the base of each side.
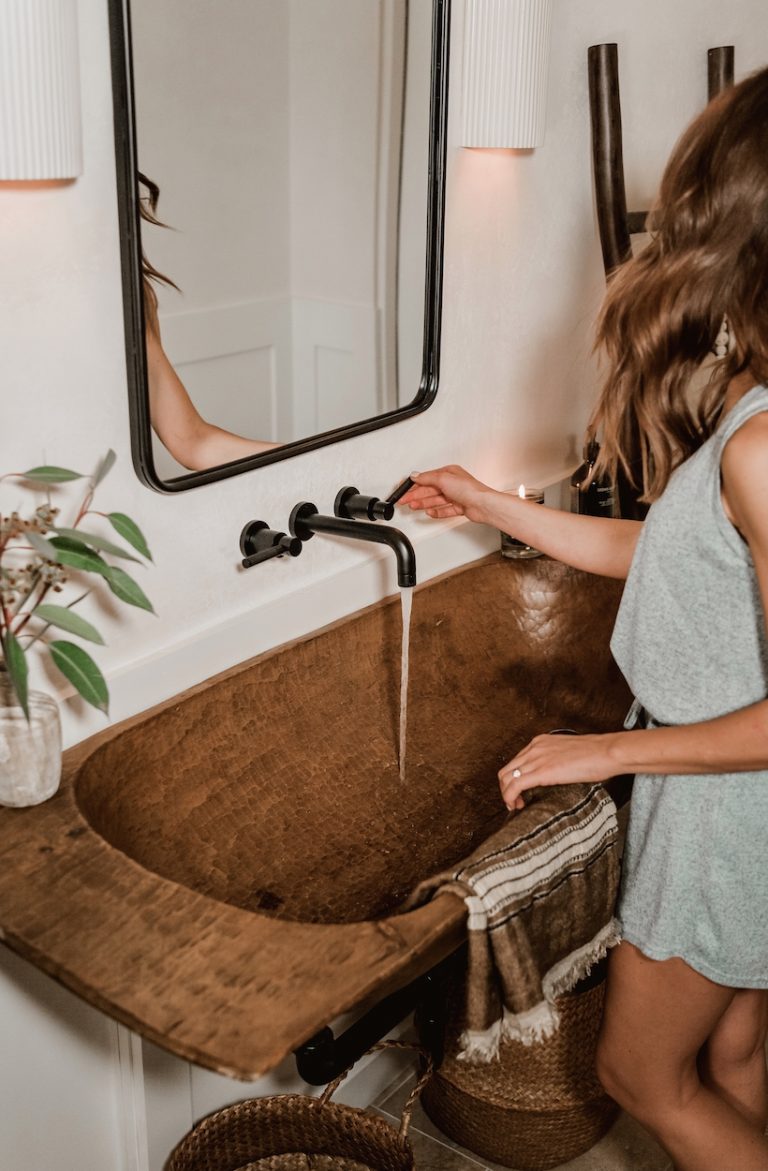
- Originally, we’d planned to drill a drain hole right in the middle of the sink, but once it was mounted to the wall, we noticed that each end of the bowl had a slight dip that would encourage water to pool in those spots. So, we ended up drilling for two drains, one on each side, so the water could hit the middle of the bowl and then drain from each end. It worked perfectly.
- Next my plumbers came and installed the p-trap (with two connectors since we had two drains) that connected the sink into our plumbing system.
- Finally, the plumbers installed the wall-mounted faucet, which turned out to be way more difficult that I’d anticipated. When they drilled into the wall, we discovered there was a load-bearing stud right where the faucet needed to go. After completely opening up the wall (check out my #casacamille highlight on Instagram Stories), my framer was able to assess a solution where he could cut just enough into the stud to install the faucet without causing any damage.
- Once the sink and hardware were good to go, my painter came back, patched the sheetrock and repainted the wall. Phew!
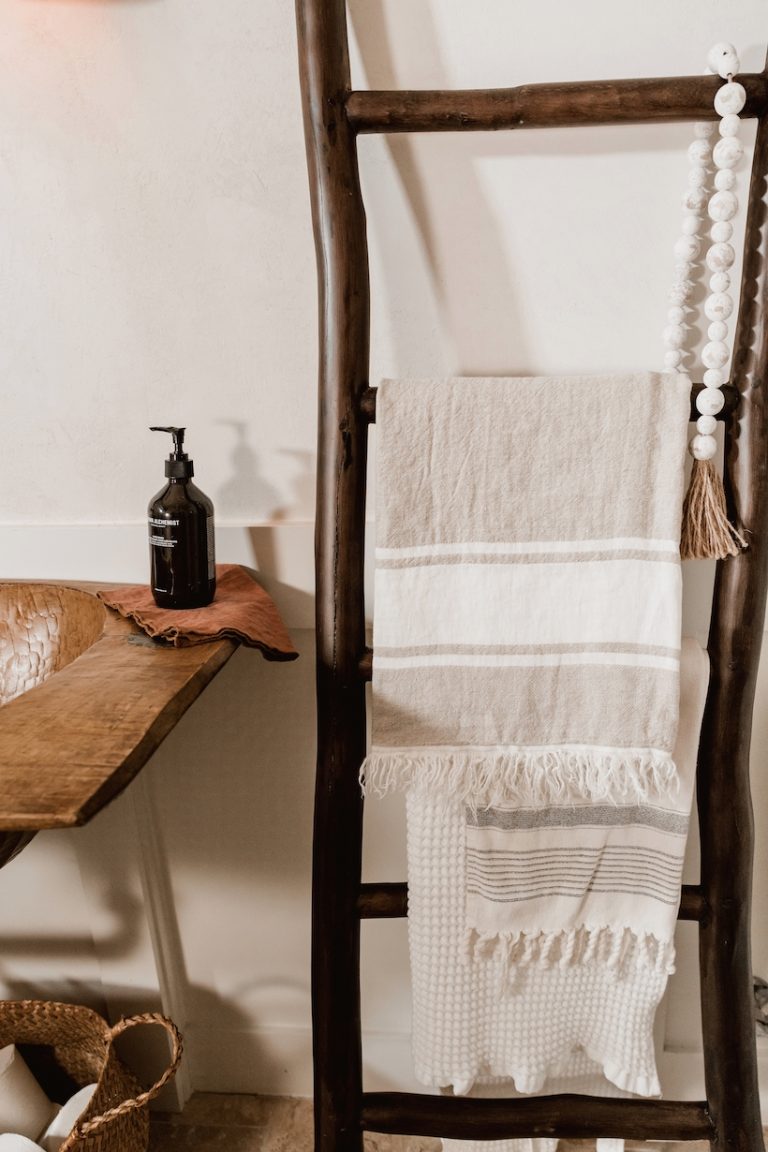
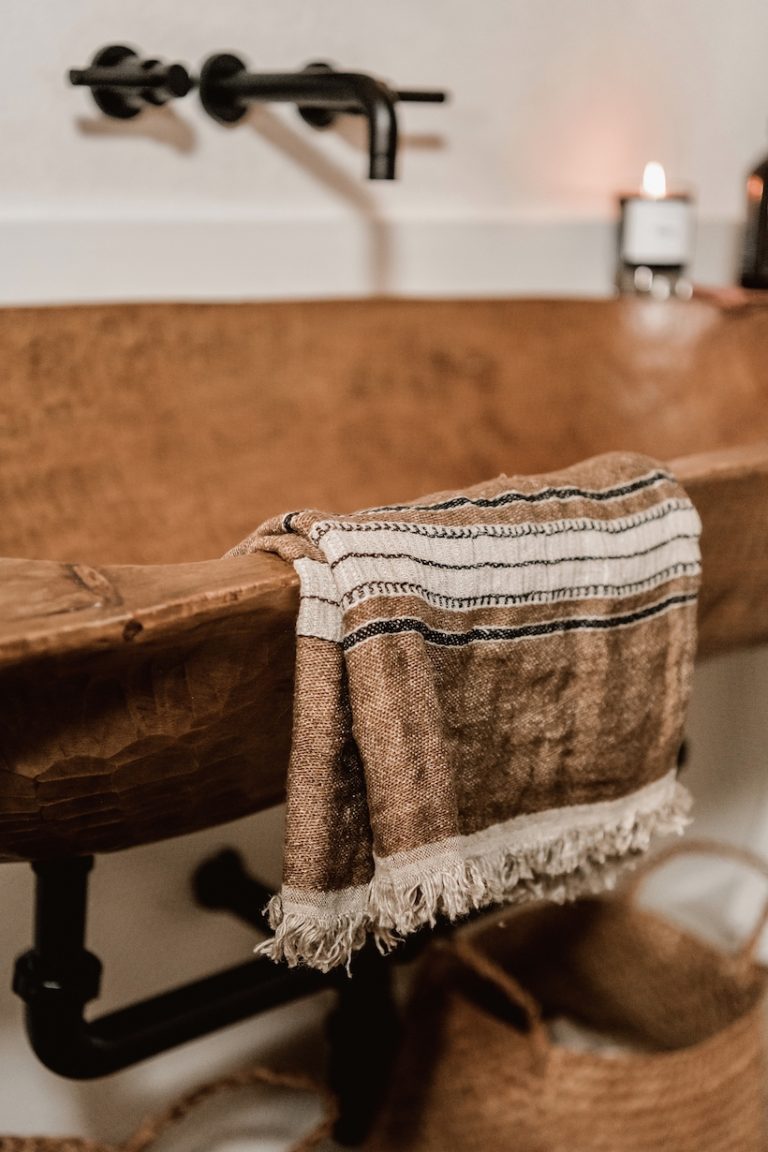
This Leaning Blanket Ladder ended up being the perfect place to display pretty turkish towels. I love the bohemian vibe it adds to this space.
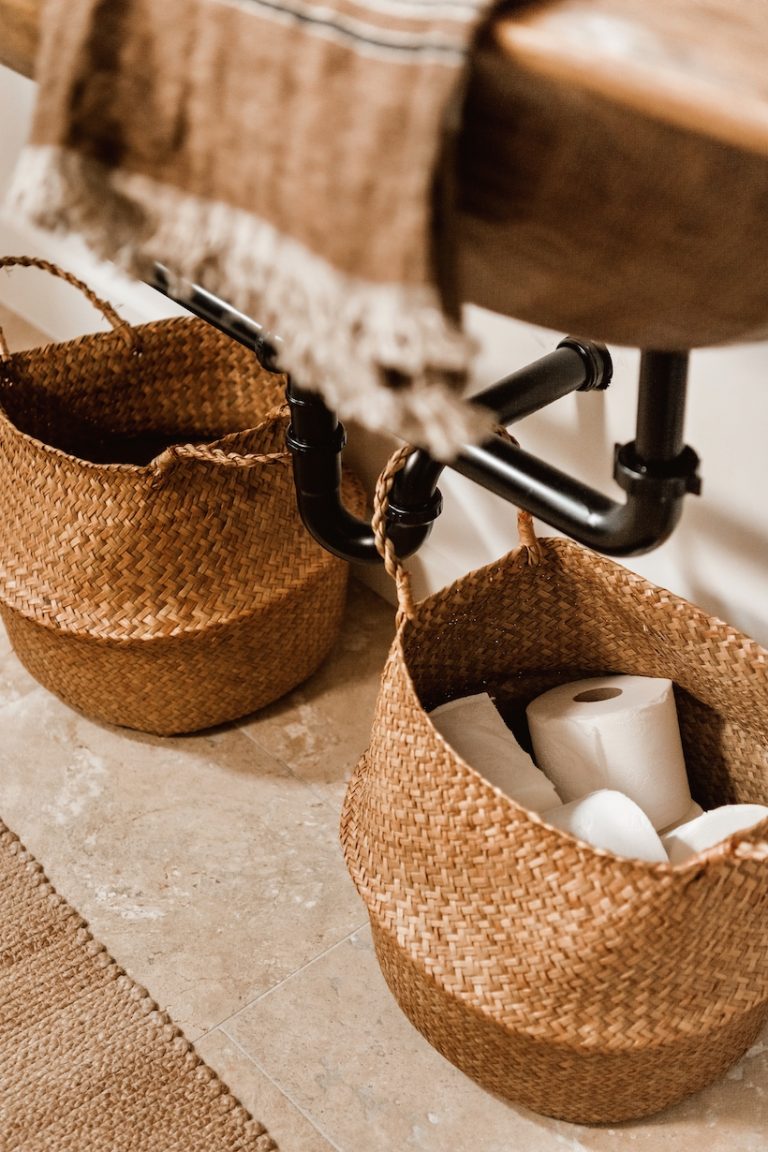
I’ve ordered countless versions of these affordable seagrass belly baskets. I use them throughout our house for trash bins, dirty clothes hampers, and here, the cutest toilet paper holder that tucks right under the sink. And if there’s anything this year of covid has taught us, stock up while you can.
How much did this rustic bathroom sink DIY cost?
As is the case with all DIY’d home reno projects, I learned some valuable lessons I’d take into consideration if I ever do something like this again. For one, just because the materials are cheap, it doesn’t mean the entire project will be cheap. In order to turn this into a sink, I had to buy hardware… and then installation required labor from my plumber, framer, and painter. Here was my cost breakdown of the entire project:
- Dough bowl: $249
- Hardware (faucet with handles, p-trap, drains): $400
- Labor (plumber, framer, painter): $1750
All in, I spent about $2,400 on this project. Was it worth it? I think so – it’s really a statement piece that makes a major impact in the room. But it was still a lot more expensive than I’d initially bargained for.
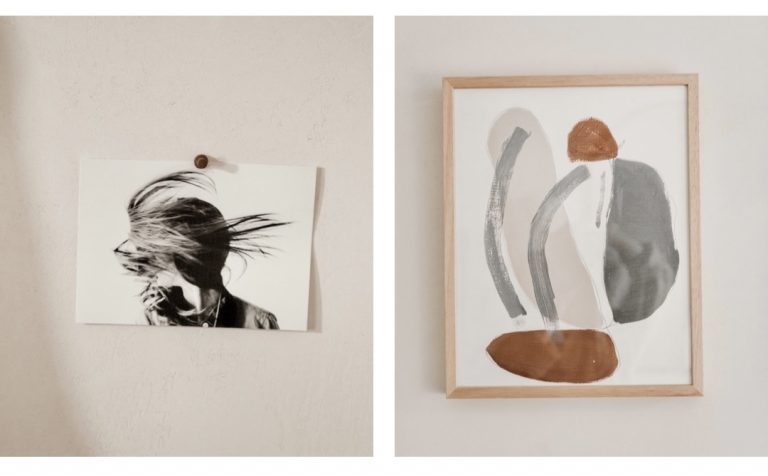
Art Prints, both from Minted: (left) Tracks No 3. (right) Movement.
Another lesson I learned is that it always pays to have the plumber look at plumbing hardware before install day, if possible. The initial p-trap I’d ordered ended up not being quite large enough to accommodate pressure from the two different drains, so at the last minute, Adam had to run purchase a wider p-trap that only came in stainless steel, we sprayed it with matte black paint, and it just barely dried in time for our plumber to install that day.
The mirror above is such a personal favorite, I ordered it for our guest bathroom, too. It’s simple and clean, but the arch gives it a really interesting architectural feel.
The light fixtures on either side are the Tumwater Sconce from Cedar and Moss. They’re made from hand caste stoneware and I love their earthy feel that blends so seamlessly with our plaster walls.
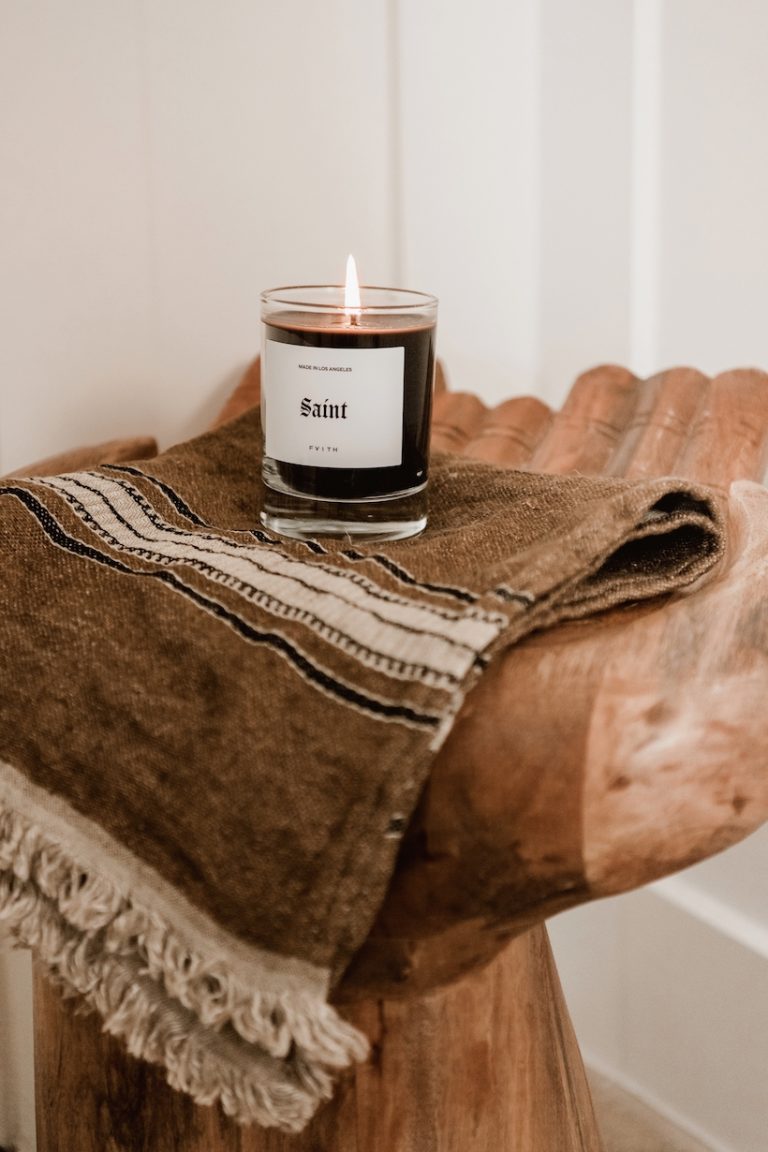
Open Hands Stool from Urban Outfitters // Towel is from Wildflower Organics // Candle is FVITH.
What do you guys think of how it turned out? I’d love to hear any questions you have about this project, so feel free to drop them in the comments below!
Loved this post? Pin this graphic to come back to it later.
