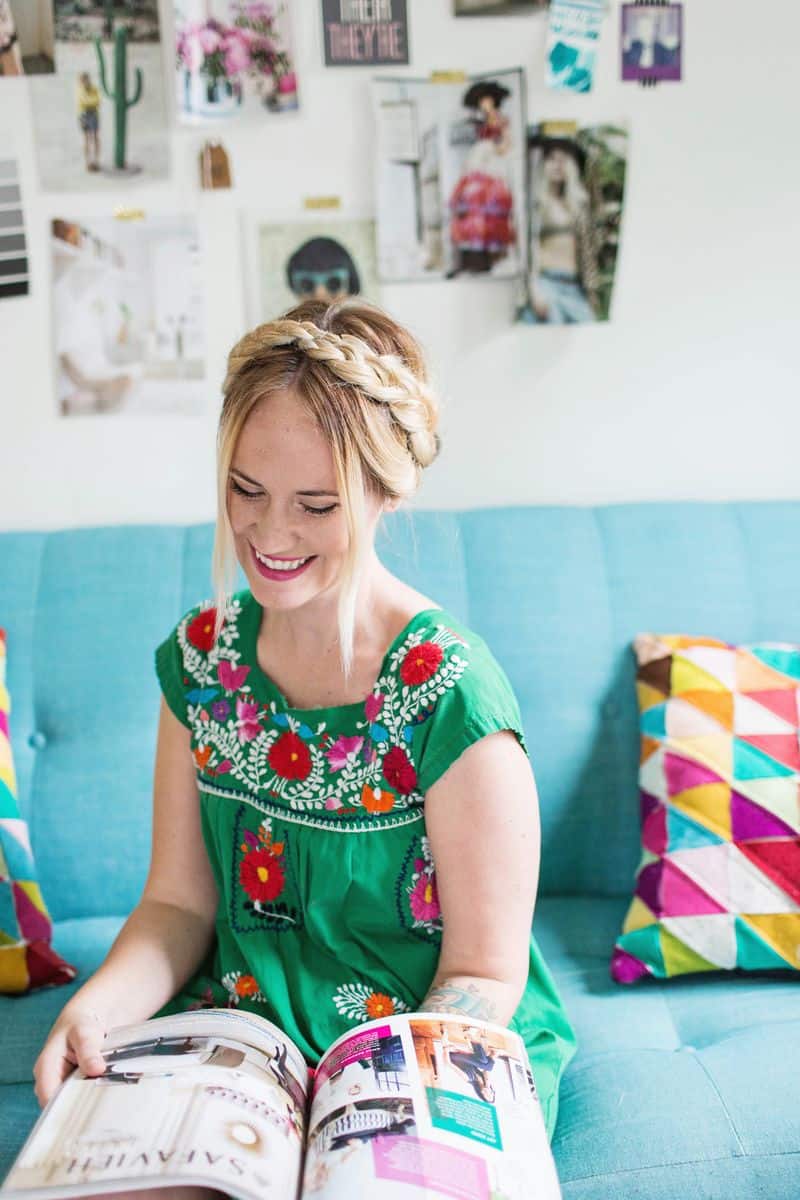
For the most part, I am a wear-my-hair-down kind of gal. I like braids and updos, but I just tend to wear my hair down with a few curls most days.
But, the summer is the one season I tend to wear my hair up more often because when it’s hot, it feels good. Am I right?
The style I do most often is maiden braids, which is a super simple version of milkmaid braids. So, I thought I would share a super simple and quick tutorial showing how I style this look with my hair length.
Step One: I brush and part my hair in the center all the way down the back of my head. If you have bangs or shorter bits of hair in the front, you can leave them out.
Step Two: I braid each side and fasten with a clear elastic band. I like to use clear bands because the ends are somewhat visible since I have longer hair (but not necessarily super long).
After braiding, I will gently pull at the braids to fluff them out a bit so they will appear a little fuller.
This actually works even better when my hair hasn’t been washed for a day or two, or I can use plumping powder to get a little texture (my hair is super fine).
Step Three: I pin the first braid with a couple bobby pins to the top center of my head. The end usually sticks up at this stage which is pretty funny looking.
Step Four: I pin the other side into place and tuck the ends under each braid. I usually give my head a shake to see if the braids feel secure, and if not, then I add another bobby pin or two.
That’s it! Easy, right? This style seriously only takes me around five minutes to do, and I really like how it looks with my face shape. Plus, it gets my hair off my neck in case it’s a hot, humid day.
This easy maiden braids tutorial can work well no matter if you have bangs or not. Do you have a favorite summer hair style? xo. Emma
Looking for more hair tutorials? Check out our most popular hair tutorials of all time!
Credits // Author: Emma Chapman, Photography: Janae Hardy.